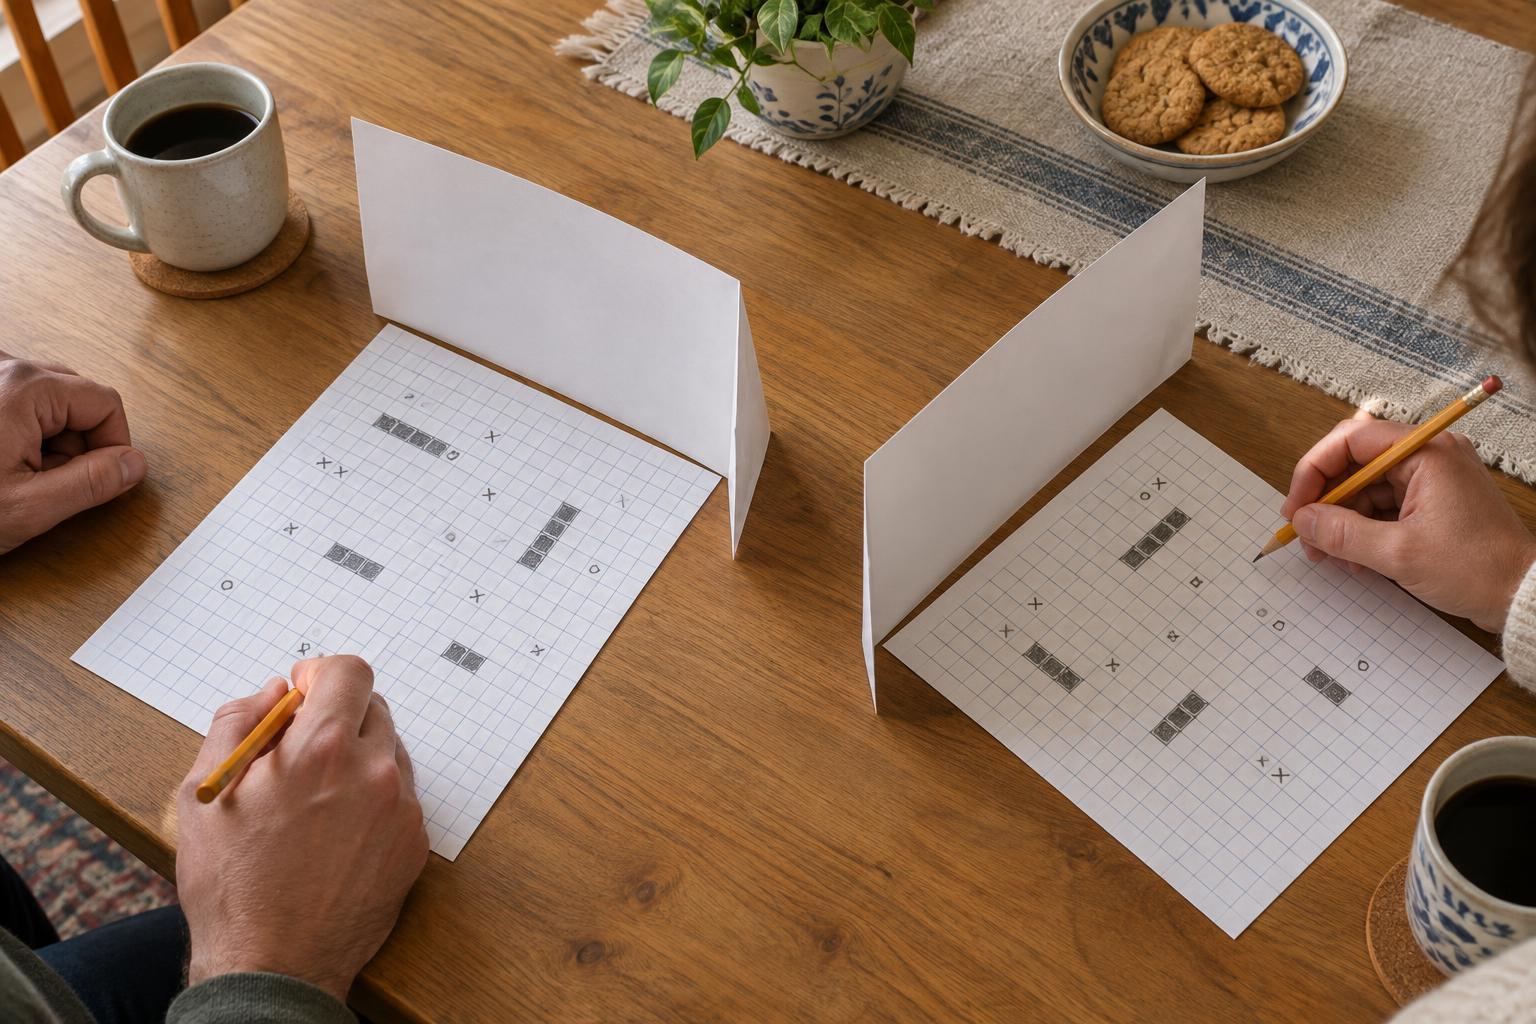
Make two grids for each player
Each player needs a pencil and a sheet of graph paper. Draw two separate 10-by-10 grids: one for your fleet and one for the shots you take at your opponent. Label the columns A through J and the rows 1 through 10 on both grids. A square can then be called by its column and row, such as C7. If graph paper is unavailable, you can draw the grids with a ruler; the squares only need to be large enough to mark clearly.
Keep your fleet grid out of your opponent’s sight. You can sit across a table with folders standing between you, use separate corners of the room, or fold each sheet so the fleet grid is concealed. The shot grid does not need to be secret, but keeping both grids together makes it easier to follow your turns.
Place a fleet before the first shot
For a straightforward game, each player draws five ships on their fleet grid. Make one ship five squares long, one four squares long, two three squares long, and one two squares long. A ship must occupy consecutive squares in a straight horizontal or vertical line. Ships cannot overlap or extend beyond the grid. For example, a three-square ship could fill D4, D5, and D6.
Ships may sit next to each other unless you both decide otherwise before placing them. Once both players say their fleets are ready, placements are fixed. It helps to give each ship a different initial or outline so you can tell where one ends and another begins, especially when two ships are adjacent. Neither player should see the other’s placements before play starts.
Call shots and mark both grids
Choose who goes first. On your turn, call one coordinate, such as H2. Your opponent checks that square on their fleet grid and answers “hit” if any part of a ship occupies it or “miss” if the square is empty. Mark the result on your shot grid: an X for a hit and a small circle for a miss work well. Your opponent marks the incoming shot on their fleet grid, then takes a turn calling a coordinate on yours.
A ship is sunk when every square it occupies has been hit. When that happens, the player whose ship was hit announces “sunk” and names its length. There is no need to reveal its location or orientation; the shooter can work those out from the hits already recorded. If someone calls a coordinate they have already tried, point out that it is a repeat and let them choose an untried square instead.
Keep marking misses, even when they seem unimportant. They show where you have already searched and help you rule out possible ship positions. If a called coordinate is unclear, repeat it before answering rather than guessing which square was meant.
Use clues without losing track
After a hit, the next useful shots are often the squares immediately above, below, left, and right of it. Ships cannot run diagonally, so diagonal guesses will not tell you which way that particular ship extends. Once two hits line up, you can test farther along that row or column. A miss at one end may suggest trying the other. Remember that nearby hits could belong to different ships if you allowed ships to touch.
When you have no promising lead, spread your shots around the grid rather than concentrating on one corner. Any ship longer than one square covers several coordinates, so a wider search can help you find a new target. As the game goes on, look at the lengths of ships that remain unsunk. A gap too short to hold any remaining ship is usually a poor place to spend a turn.
The game ends when one player has hit every square of the other player’s fleet. Before clearing the paper, the winner can show their fleet grid so both players can check that the recorded shots and ship lengths match. Keep the same grid size and fleet for a rematch, or agree together on a smaller grid and fewer ships if you want a shorter game.