Start with a small design and simple supplies
Paper quilling turns narrow strips of paper into shapes that can be arranged on a flat surface. A greeting card is a manageable first project: you need only a few coils, and a slightly uneven shape can become part of the design. Try a flower with five petals and a stem, or three small balloons. Sketch the arrangement lightly on a scrap sheet before you begin, keeping the shapes well inside the card edges.
Gather a blank card or a piece of sturdy paper folded in half, a few sheets of colored scrap paper, scissors, a pencil, a toothpick, white craft glue and a small dish for the glue. A ruler helps you cut strips of similar width, but precision is not essential. Strips around 5 millimeters wide are easy to handle. If the paper is thin, use shorter strips at first; long, thin strips can be harder to control. Set aside a clean sheet as a work surface so loose coils do not pick up glue or dust.
Roll a coil without specialized tools
Cut several strips from the straight edge of your scrap paper. To make your first coil, hold one end of a strip against a toothpick and wrap the paper around it a few times. Then slide the roll off and continue winding it between your fingers. Keep the edges lined up, but do not squeeze so tightly that you cannot loosen the coil later. You can also wrap the strip around a pencil tip if a toothpick feels awkward; the starting center will simply be wider.
For a round coil, let the roll relax in your fingers until it reaches a size you like. Put a tiny dot of glue on the outside end and hold it against the coil briefly. Make several before attaching anything to the card. This lets you compare sizes and choose shapes that work together. If one coil springs open too far, wind it again and use a shorter strip next time. A little trial and error is normal, especially when different scraps have different thicknesses.
Turn coils into petals, leaves and stems
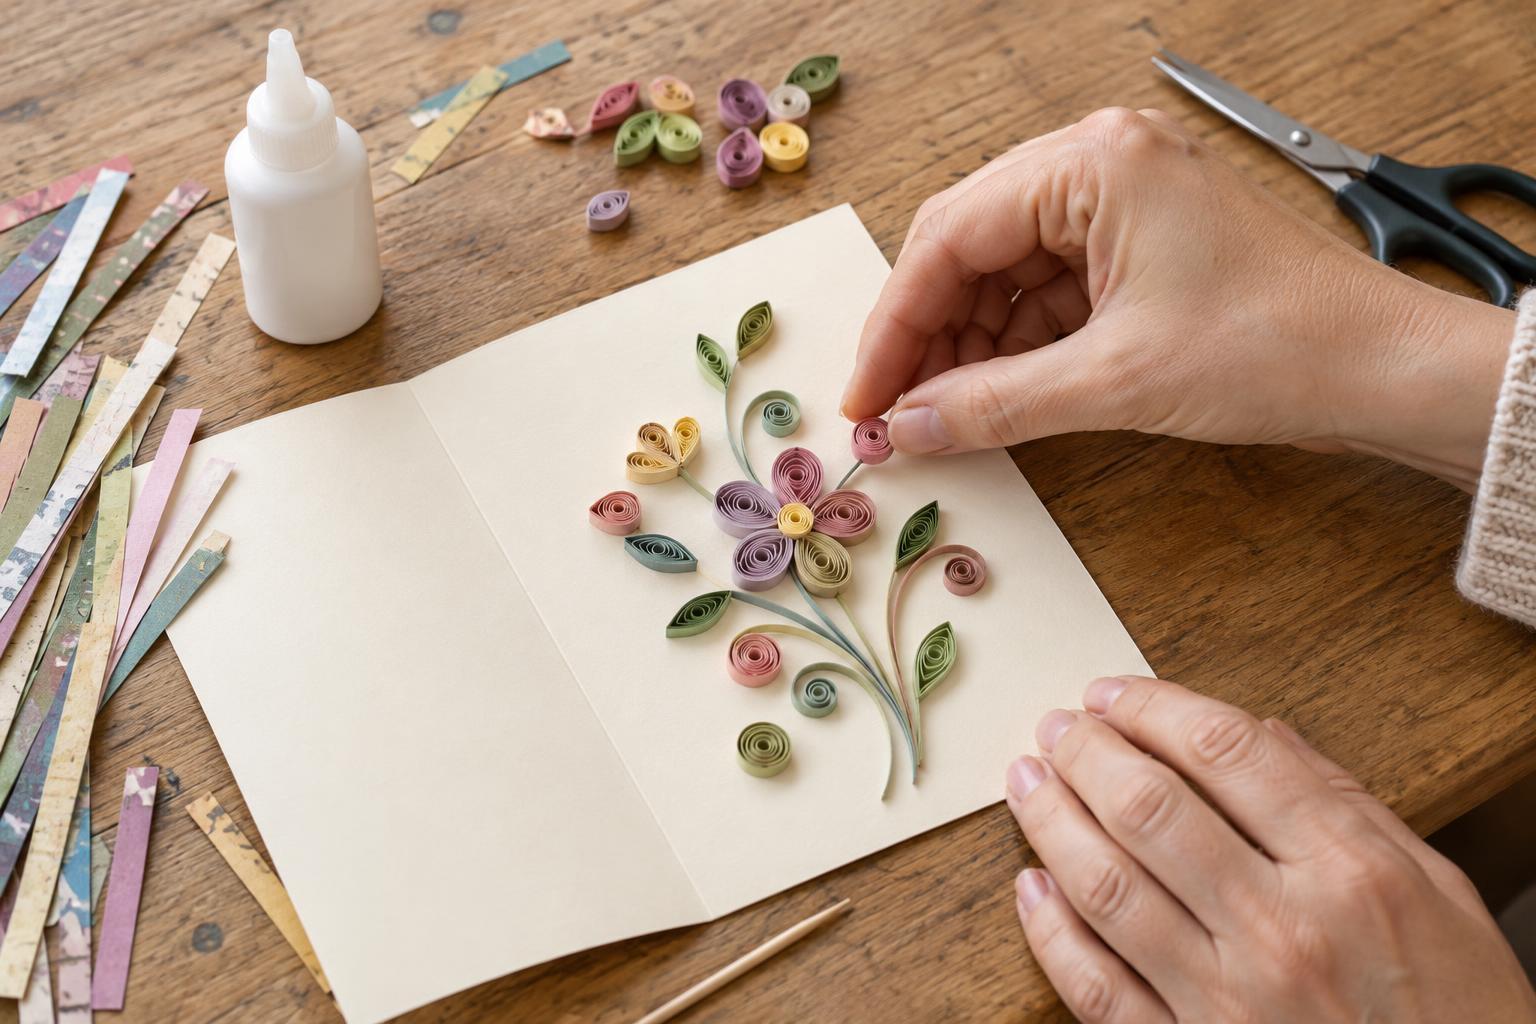
A loose coil becomes a petal when you pinch one side to a point. Pinch both ends for a leaf shape. For a flower, make five similarly sized petals and one small round coil for the center. They need not match perfectly: rotate them around the center before gluing to see which arrangement looks balanced. A strip left straight, or gently curved by drawing it over a pencil, can become a stem.
If you want to make balloons instead, use three round coils and add narrow paper strips as strings. These simple designs work because each part has a clear role. Avoid adding many tiny details to your first card; they can be difficult to place and may make the design harder to read. Before reaching for the glue, lay every piece on the card and leave room for a handwritten message. Take a quick photo of the layout if you think you might forget where the pieces belong.
Glue the design without soaking the card
Use a toothpick to spread a thin line of glue along the bottom edge of each quilled shape. Place the shape on the card and press gently for a few seconds, taking care not to flatten it. Work from the center of your design outward so nearby pieces are easier to position. For a stem, apply glue sparingly along one edge rather than coating the whole strip. If glue squeezes out, lift the excess with a clean corner of scrap paper instead of rubbing it across the card.
Let the card dry flat and open before writing inside or closing it. Drying time varies with the glue and paper, so check that the shapes stay in place when you lightly touch the card. A heavy layer of glue can wrinkle thin card stock; if that happens, use less on the next piece rather than trying to press the wet paper smooth. To send the card through the mail, consider placing a clean piece of paper over the design inside the envelope to reduce rubbing. Raised shapes can still be crushed, so hand delivery is the safer choice.
Make the next card your own
Once you have made a few coils, experiment with one change at a time. Try tighter coils for small flower centers, longer strips for larger petals, or two paper colors in the same design. You can also cut strips from the blank margins of old notes or packaging, provided the paper bends without cracking. Keep any leftover strips in an envelope so you can start another card without setting up the whole project again. The aim is not identical shapes; it is a design you enjoy making and giving.