Start with the right map
A paper map is most useful when it shows the details you need for the walk you have in mind. For a neighborhood outing, a street map may be enough. For parks or countryside paths, look for a map that shows trails, paths, roads, water and changes in terrain. Check its coverage before setting off: your starting point, planned route and a little surrounding area should all fit on it. A map that ends exactly where you intend to turn leaves little room for a change of plans.
Find the legend, or key, before tracing a route. It explains which lines represent paths, roads, boundaries or other features. Similar-looking lines can mean different things, and a path printed on a map may not always be accessible or easy to follow on the ground. Check the map’s scale, too. It tells you how a distance on the page relates to a distance outdoors. If a scale bar is provided, you can use a strip of paper to mark each section of your route, then compare the marks with the bar.
Choose a route you can describe
Begin with a clear start and finish, such as a park entrance or a familiar street corner. A loop can be pleasant because it brings you back without retracing every step, but an out-and-back walk is often simpler for a first attempt. As you draw or trace the route, note each junction where you must make a choice. “Turn left at the bridge, then take the second path on the right” is easier to use than a vague instruction to head toward the other side of the park.
Estimate the distance by measuring the whole route, not just the straight line between its ends. Allow extra time for pauses, crossings and any climb. On maps that show contour lines, closely spaced lines generally indicate a steeper slope than widely spaced ones. If you are unsure how demanding the walk will feel, choose a shorter route with an obvious option to turn back. Before leaving, check any available local information about access or closures; a printed map cannot tell you what has changed since it was made.
Orient the map before you move
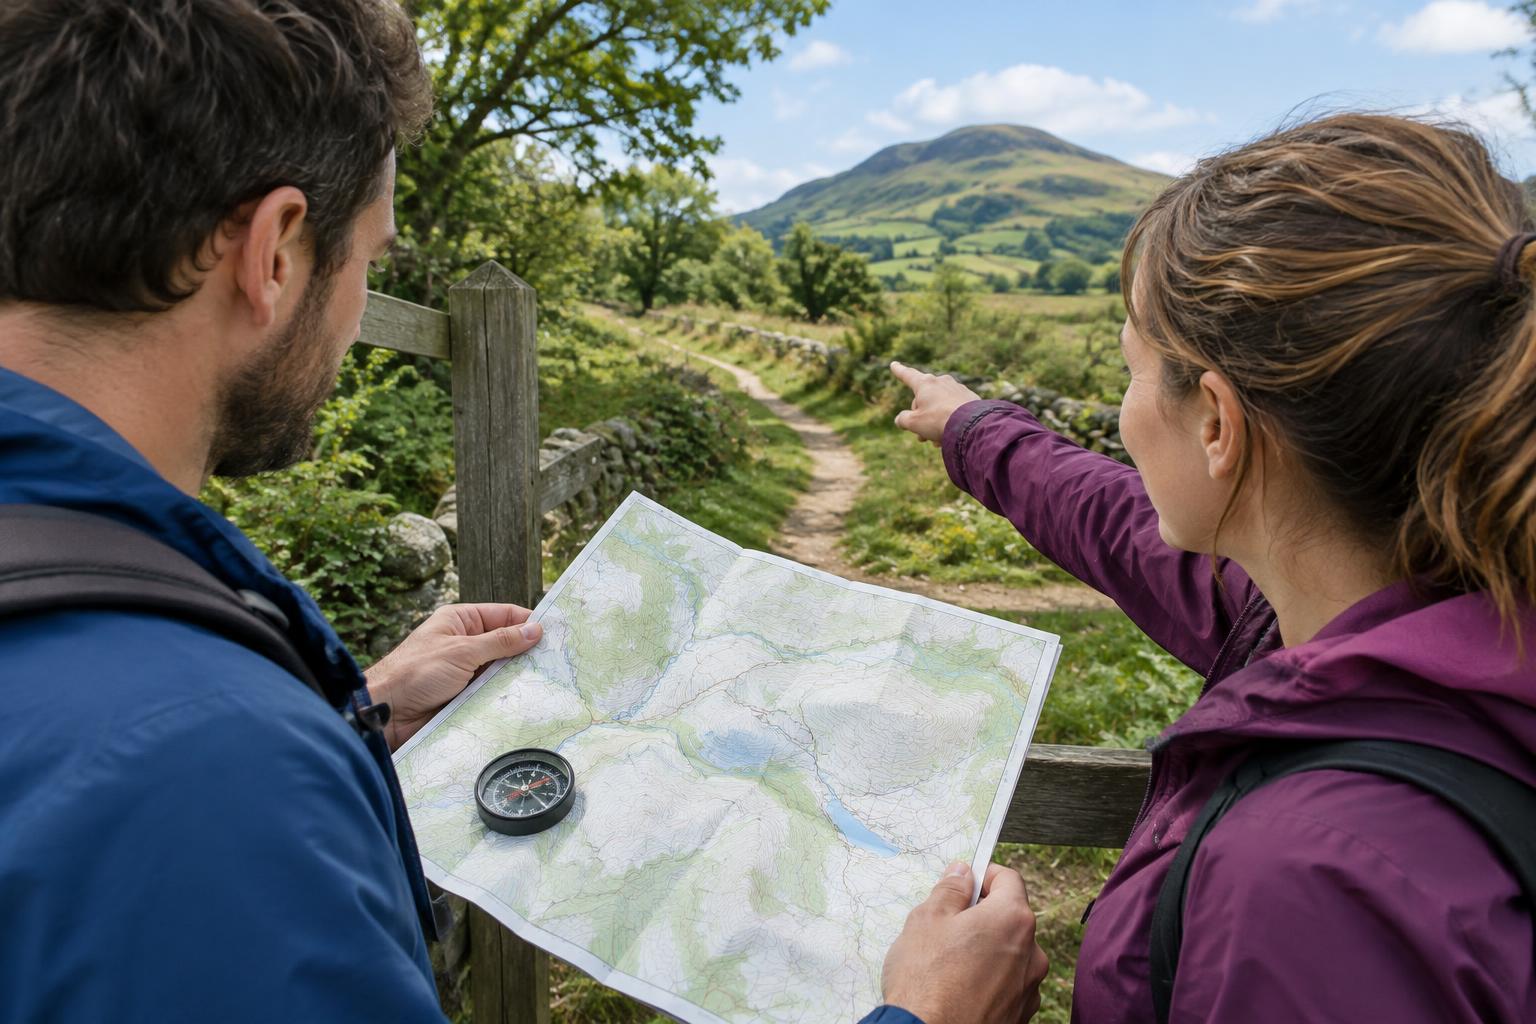
At the starting point, locate yourself on the map using features you can see, such as a road intersection, pond or building. Then turn the map so the roads or paths shown in front of you line up with their real-world directions. This is called orienting the map. You do not need a compass to do it when the landmarks are clear, though a compass can help when they are not. Remember that the top of the printed page is not necessarily the direction you are facing.
Look ahead on the map for two or three features you expect to pass in order. A bridge followed by a junction and then an open field makes a useful sequence. This gives you a way to check progress rather than relying on a single landmark that might be easy to miss. Keep the map handy, and confirm your position at each important junction before choosing a path.
Check your position as you walk
When you reach a junction, pause and match what you see to the map. Count the paths leaving it, check their general directions and look for a nearby feature that supports your choice. If a path bends unexpectedly, compare the bend with the map before assuming you took a wrong turn. Distance is another clue: if you expected a junction soon but have walked well past your estimate, stop and reassess.
If the surroundings do not match the map, avoid making a series of guesses. Return to the last place where you were certain of your position, if it is safe and straightforward to do so, and work forward from there. You can also choose a familiar road or clearly marked route that leads back to your start. The aim is not to follow the original plan at all costs; it is to make a clear, manageable next decision.
Make the plan easy to use outdoors
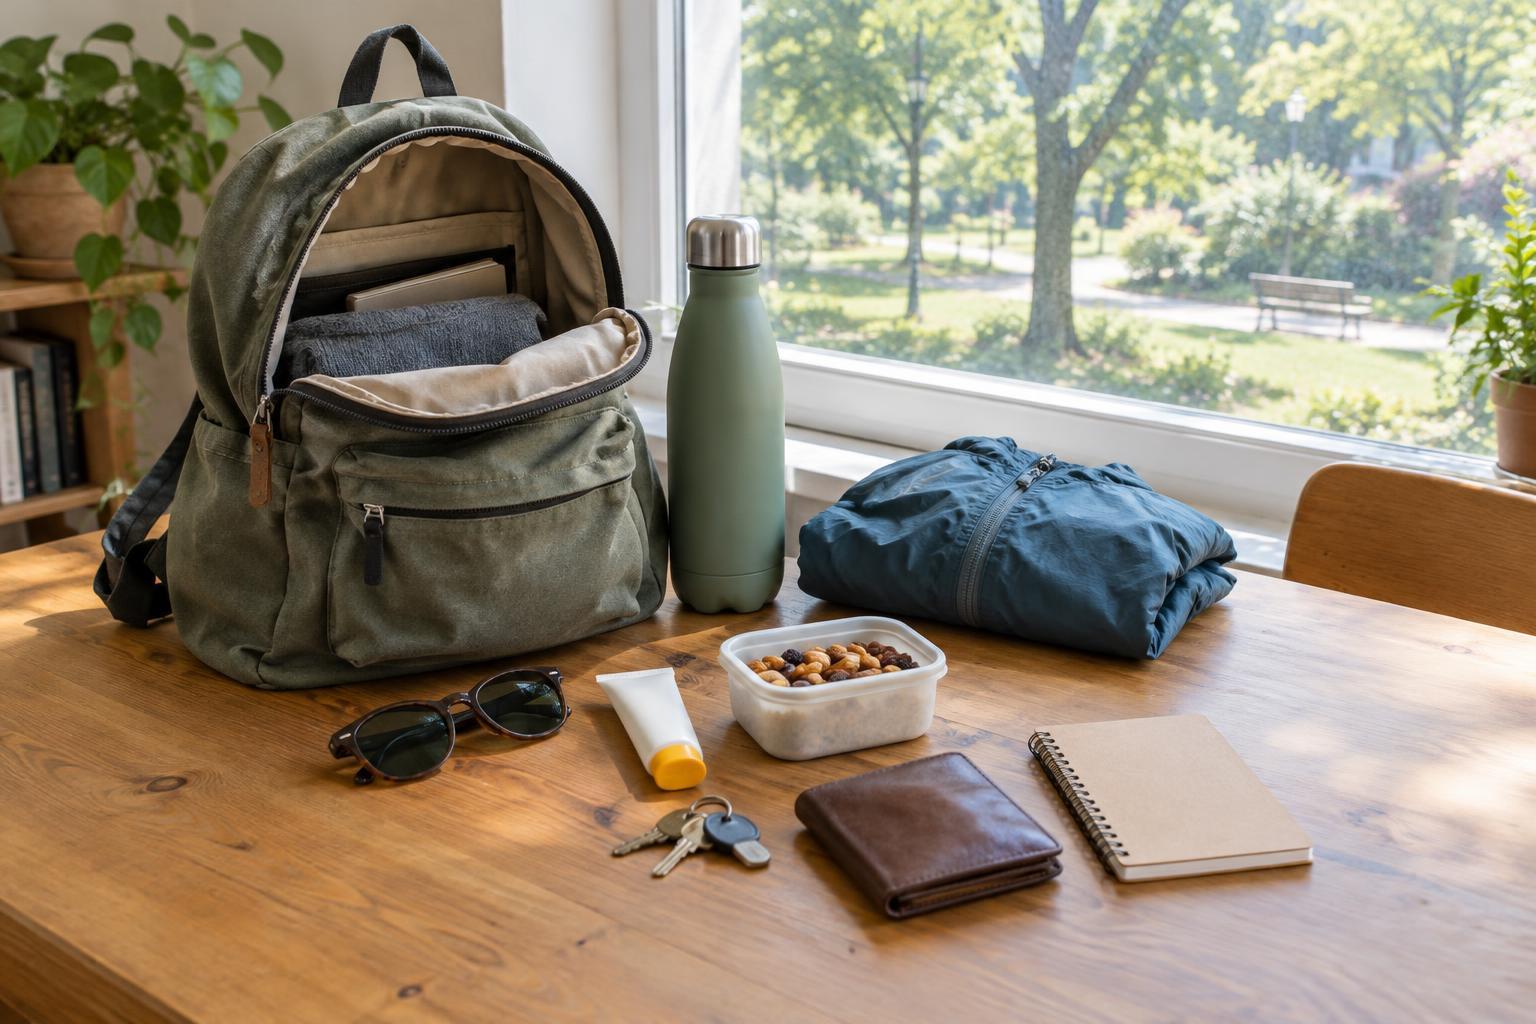
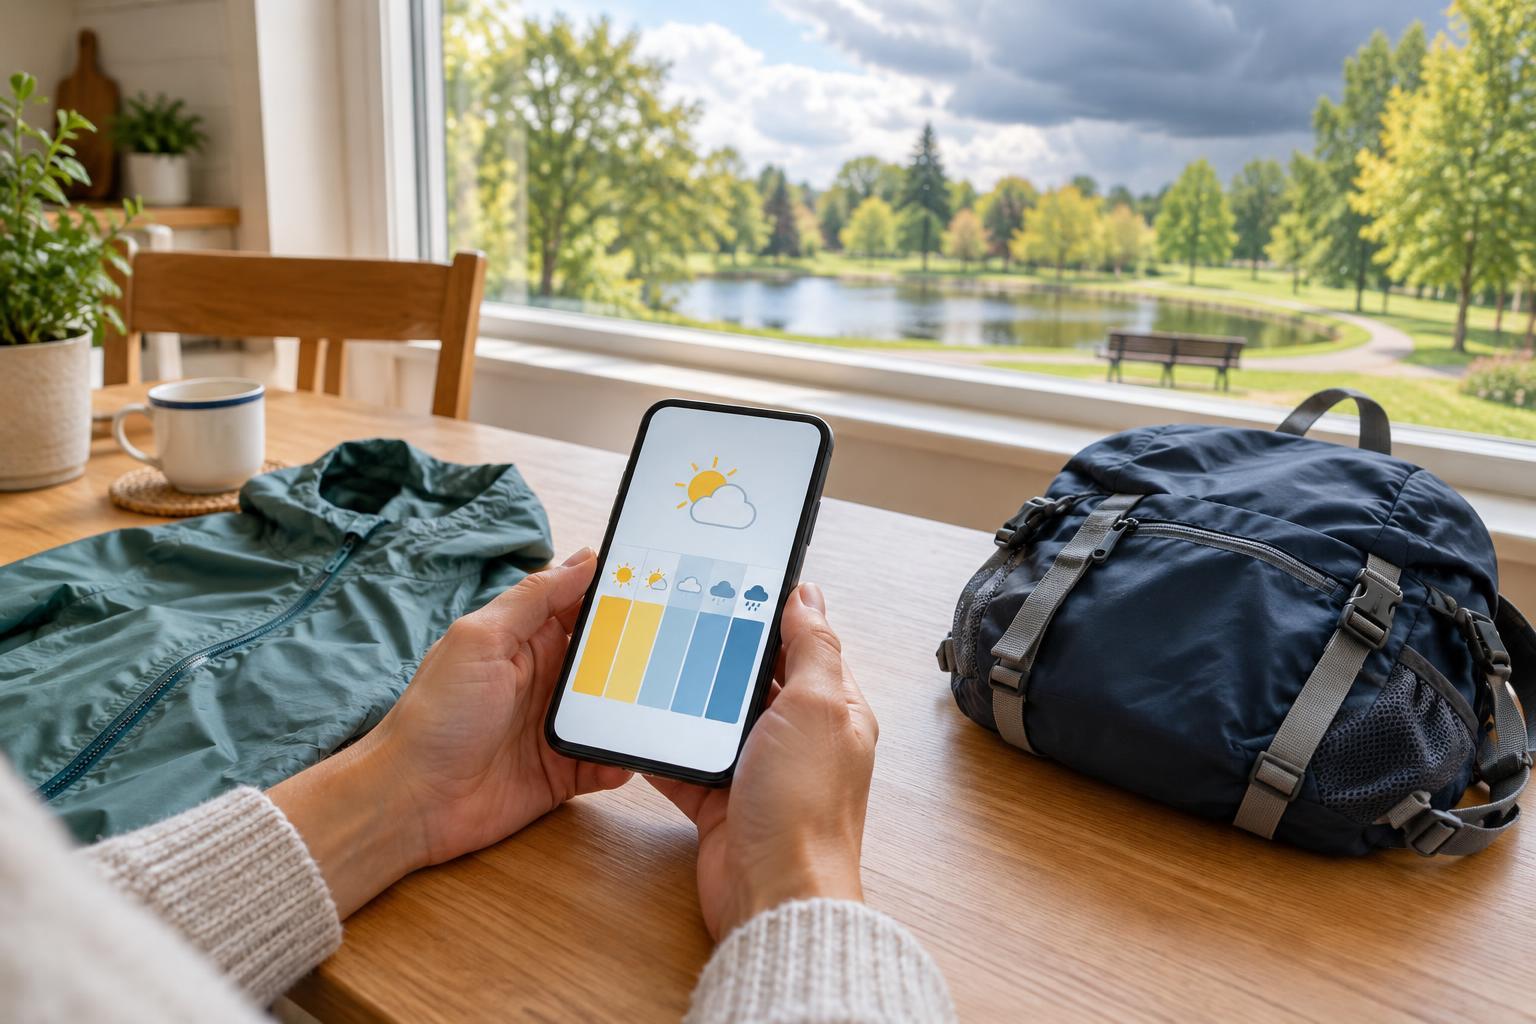
Before you go, write a short route note with the start point, main turns, approximate distance and a possible shorter option. Fold or carry the map so the current part of the walk is easy to see, and protect it from rain if needed. Bring what suits the outing, such as water, suitable footwear and a light layer. Let someone know your intended route if you are heading somewhere unfamiliar.
For practice, try a modest walk in an area with several unmistakable landmarks. Predict what the next junction will look like, then check your prediction when you reach it. With each walk, the symbols on the page become easier to connect to paths, streets and terrain. GPS can still be a useful backup, but reading the map yourself gives you another way to understand where you are and decide where to go next.