Gather a few simple supplies
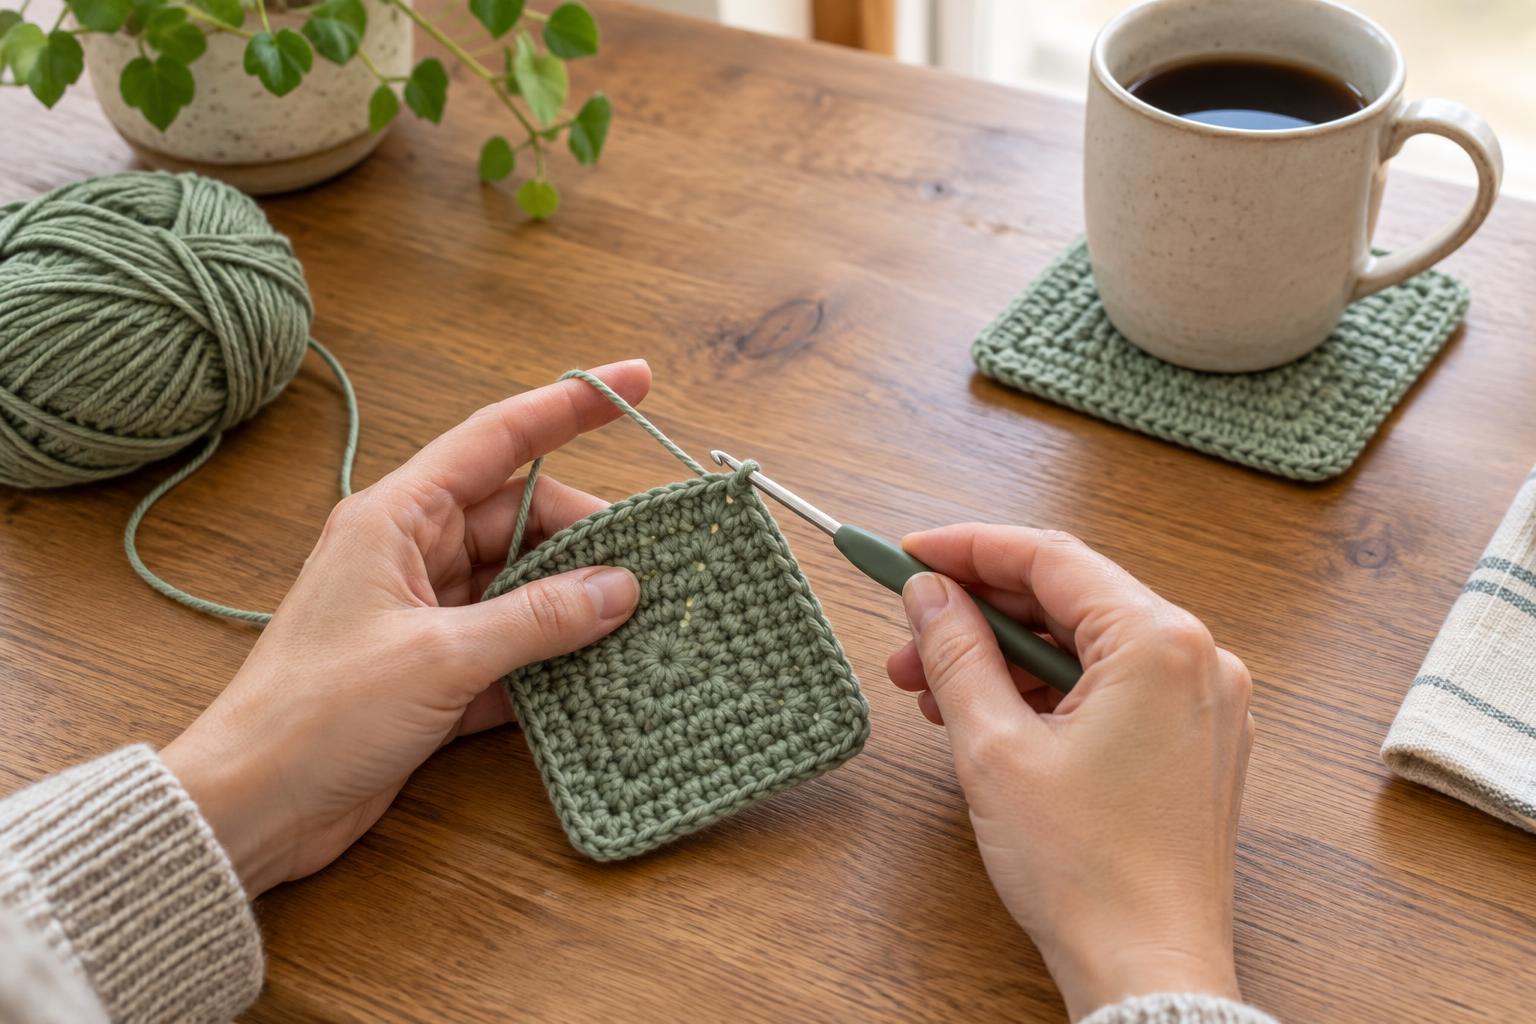
A coaster is a manageable first crochet project: it is small enough to finish without a large yarn commitment, but it gives you plenty of chances to practice the same stitch. You will make a square by working back and forth in rows. The first row begins with a chain; every row after that uses single crochet.
Choose a small ball of medium-weight cotton yarn and a crochet hook in the size suggested on its label. Cotton makes a practical coaster because it is absorbent and can usually be washed, though it may feel less stretchy than some other yarns. You will also need scissors and a blunt yarn needle to hide the ends. A light-colored, smooth yarn makes it easier to see individual stitches than a dark or fuzzy one.
There is no need to aim for an exact size. Your first goal is a fairly flat piece with straight sides. If you have a cup you use often, keep it nearby so you can check the coaster’s size as you go.
Make a slip knot and foundation chain
Start with a slip knot on your hook. One way to make it is to form a loop in the yarn, pull a strand of the working yarn through that loop, then place the new loop on the hook. Tighten it until it sits comfortably on the hook and can still slide. The working yarn is the strand leading to the ball; the short loose end is the tail.
To make a chain, catch the working yarn with the hook and pull it through the loop already on the hook. Repeat until you have made 16 chains. Each completed chain looks like a small V. Do not count the loop currently on your hook. Try to keep the chains loose enough to insert the hook into them later; a foundation chain pulled very tight can make the bottom edge of the coaster curl.
If counting feels uncertain, pause after every few chains and count the V shapes from the hook back toward the slip knot. It is easier to add or remove a chain now than to discover a missed stitch halfway through the first row.
Work your first row of single crochet
Skip the chain closest to your hook and insert the hook into the second chain. Catch the working yarn and pull up a loop. You should now have two loops on your hook. Catch the yarn again and pull it through both loops: that is one single crochet stitch. Repeat this sequence in each remaining chain until you reach the slip knot end. With a starting chain of 16, you should have 15 single crochet stitches in your first row.
If getting into the chains is awkward, slow down and look for the V shape of each one. Hold the chain gently between your fingers while you insert the hook. The first row often feels less steady than later rows because there is not yet much fabric to hold; that does not mean you are doing it wrong.
Turn and build the square
At the end of the row, make one chain. This is a turning chain that gives your hook room to begin the next row; for this project, it does not count as a stitch. Turn the work so you can crochet back across it. Make one single crochet in the first stitch of the row, then one in each stitch after it. When you reach the far edge, count again: you should still have 15 stitches.
Repeat that pattern at every edge: chain one, turn, then work 15 single crochet stitches across. The first and last stitches can be easy to overlook, so check your stitch count regularly. If a row suddenly has 14 stitches, look closely at the edge before continuing; you may have skipped the last stitch. If it has 16, you may have worked into the turning chain by mistake.
Keep going until the fabric looks roughly square and is wide enough for your cup. The number of rows will vary with your yarn, hook and tension, so let the shape guide you rather than aiming for a fixed row count. Slightly uneven edges are normal while you learn. Consistent stitch counts matter more than perfectly identical stitches.
Finish and use your coaster
After your final row, make one chain and cut the yarn, leaving a tail long enough to thread onto your yarn needle. Pull the tail all the way through the loop on the hook and snug it gently. Thread the tail through the needle and weave it back and forth through several stitches on the underside of the coaster. Do the same with the starting tail, then trim both ends close to the fabric.
Lay the coaster flat and smooth it into shape with your hands. If it needs a little encouragement, dampen it lightly, arrange it into a square and let it dry flat. Set a cup on top to test the size. Once you know how the stitches feel, you can make another coaster with a wider starting chain, try a different color or put together a small mismatched set.