Start with a sheet and a small idea
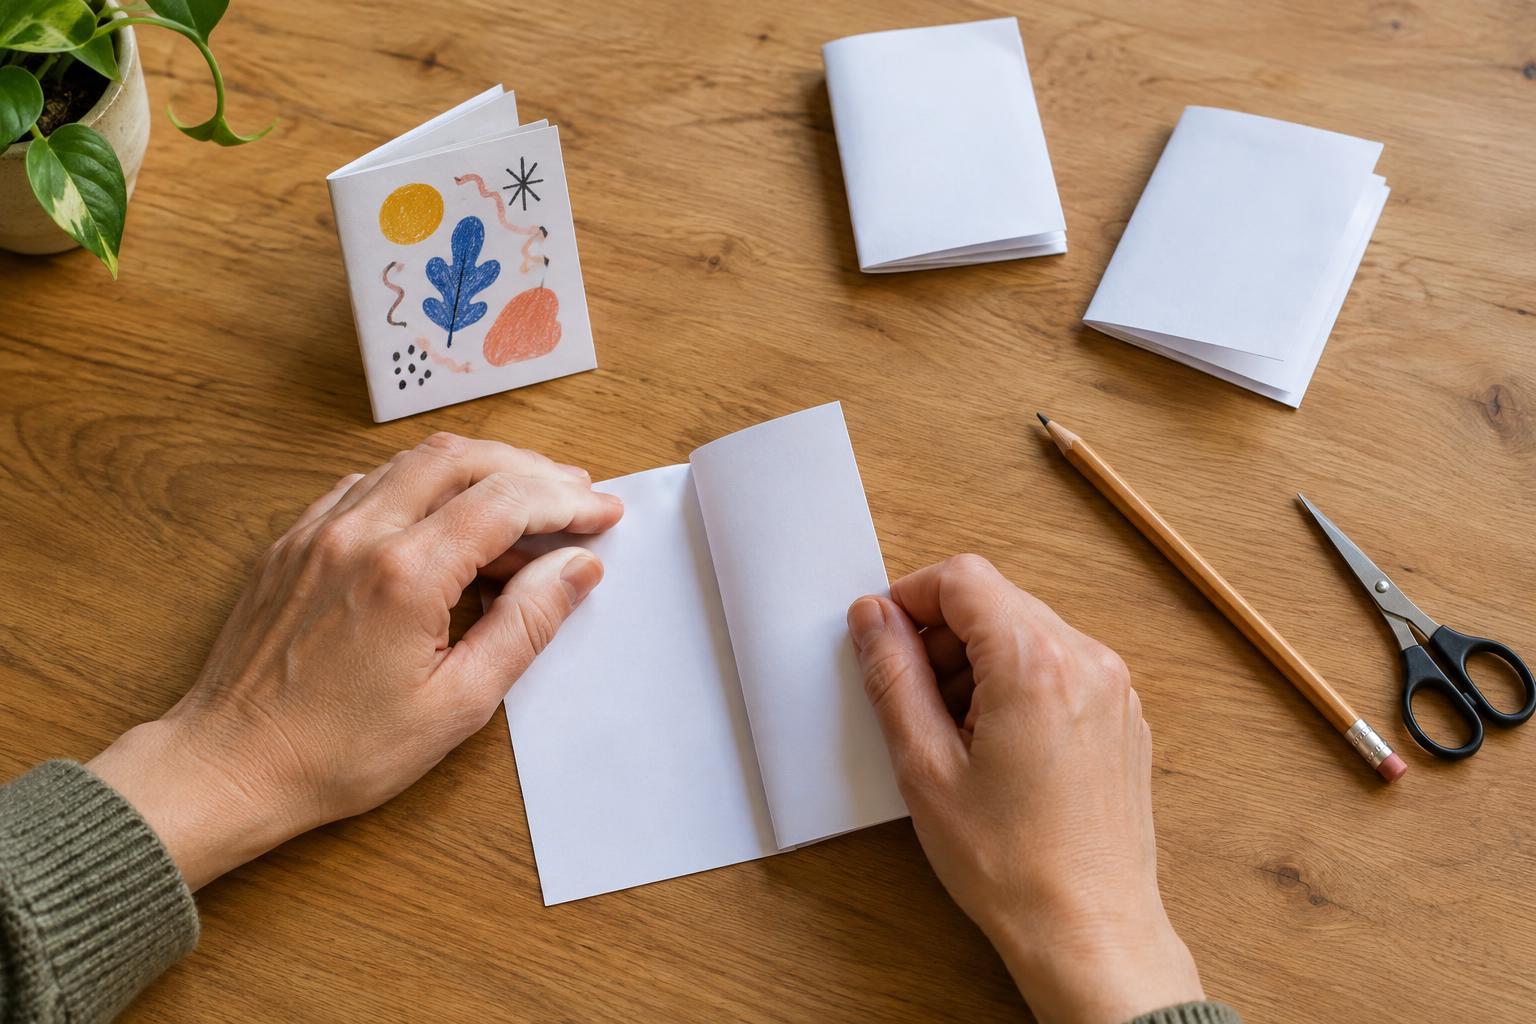
A one-sheet mini zine is a pocket-sized booklet made from a single sheet of paper and one cut. You can make it with ordinary printer paper, a pencil, and scissors. Add pens, colored pencils, stamps, or collage scraps if you like, but none of those are necessary. Your first copy can be a rough experiment; the format is easier to understand once it is in your hands.
Because the pages are small, choose a subject you can explore in brief pieces. Try a guide to your favorite neighborhood walk, a collection of tiny recipes, a comic about a familiar chore, or a list of games to play with friends. Give the zine one clear idea rather than trying to fit everything you know about a topic onto the sheet.
Fold, cut, and form the booklet
Place the paper in landscape orientation. Fold it in half from top to bottom, crease, and open it again. Next, fold it in half from left to right and reopen it. Bring the left edge to the vertical center crease, then do the same with the right edge. Open the paper fully. You should see eight rectangular panels: four across and two down.
Fold the sheet from top to bottom again. Along the folded edge, make one straight cut between the two outer vertical creases. The cut should cross the middle two panels only; it should not reach either end of the paper. Open the sheet to check your work. You should now have a slit along the horizontal center crease, running from the one-quarter mark to the three-quarter mark.
Fold the sheet from top to bottom once more. Hold the short ends and gently push them toward each other. The slit will open into a diamond shape. Keep bringing the ends together, then flatten the paper so its panels form a little book. If it resists, ease the creases into place rather than pulling on the slit. You should have a front cover, a back cover, and six interior pages.
Make a page map before adding artwork
A flat sheet can be deceptive: some panels will need to be drawn upside down so they appear upright in the finished booklet. The simplest solution is to fold a blank zine first. Write a large page number on each page as you flip through it, starting with 1 on the front cover and ending with 8 on the back. Add a small arrow pointing toward the top of each page.
Now unfold the numbered zine and use it as your map. You can draw directly on that sheet, following the numbers and arrows, or keep it beside a fresh sheet while you work. If you plan to photocopy or scan the zine later, make a clean version after testing the layout. Working from a physical map is usually less frustrating than trying to memorize the page arrangement.
Fill the pages without crowding them
Give each page one job. The cover can carry a title and a simple image; the first inside page can introduce the idea. Use the middle pages for short steps, drawings, observations, or a sequence of comic panels. The final inside page might offer a prompt for the reader to try. Leave the back cover for a sign-off, a doodle, or a note about who made it.
Sketch lightly before committing to ink. Keep words away from the fold lines and the slit, where they may be harder to read or get trimmed by an imperfect cut. Large lettering and generous blank space often work better than squeezing in another paragraph. If a page feels empty, consider one bold picture rather than extra text.
Test it, then share it
Fold the completed sheet and read the zine from cover to back. Check that the pages are in order, the drawings face the right way, and no important marks disappear into a crease. Small errors can be part of a handmade project, but a quick read-through gives you a chance to fix anything confusing before making copies.
You can give the original to a friend or unfold it to make copies and refold those into booklets. A mini zine also works as a shared activity: everyone can make one on the same theme, then trade and read them together. The modest size is part of its appeal. Finish one small idea, put it in someone’s hands, and let the next sheet become a new experiment.