Choose materials that work together
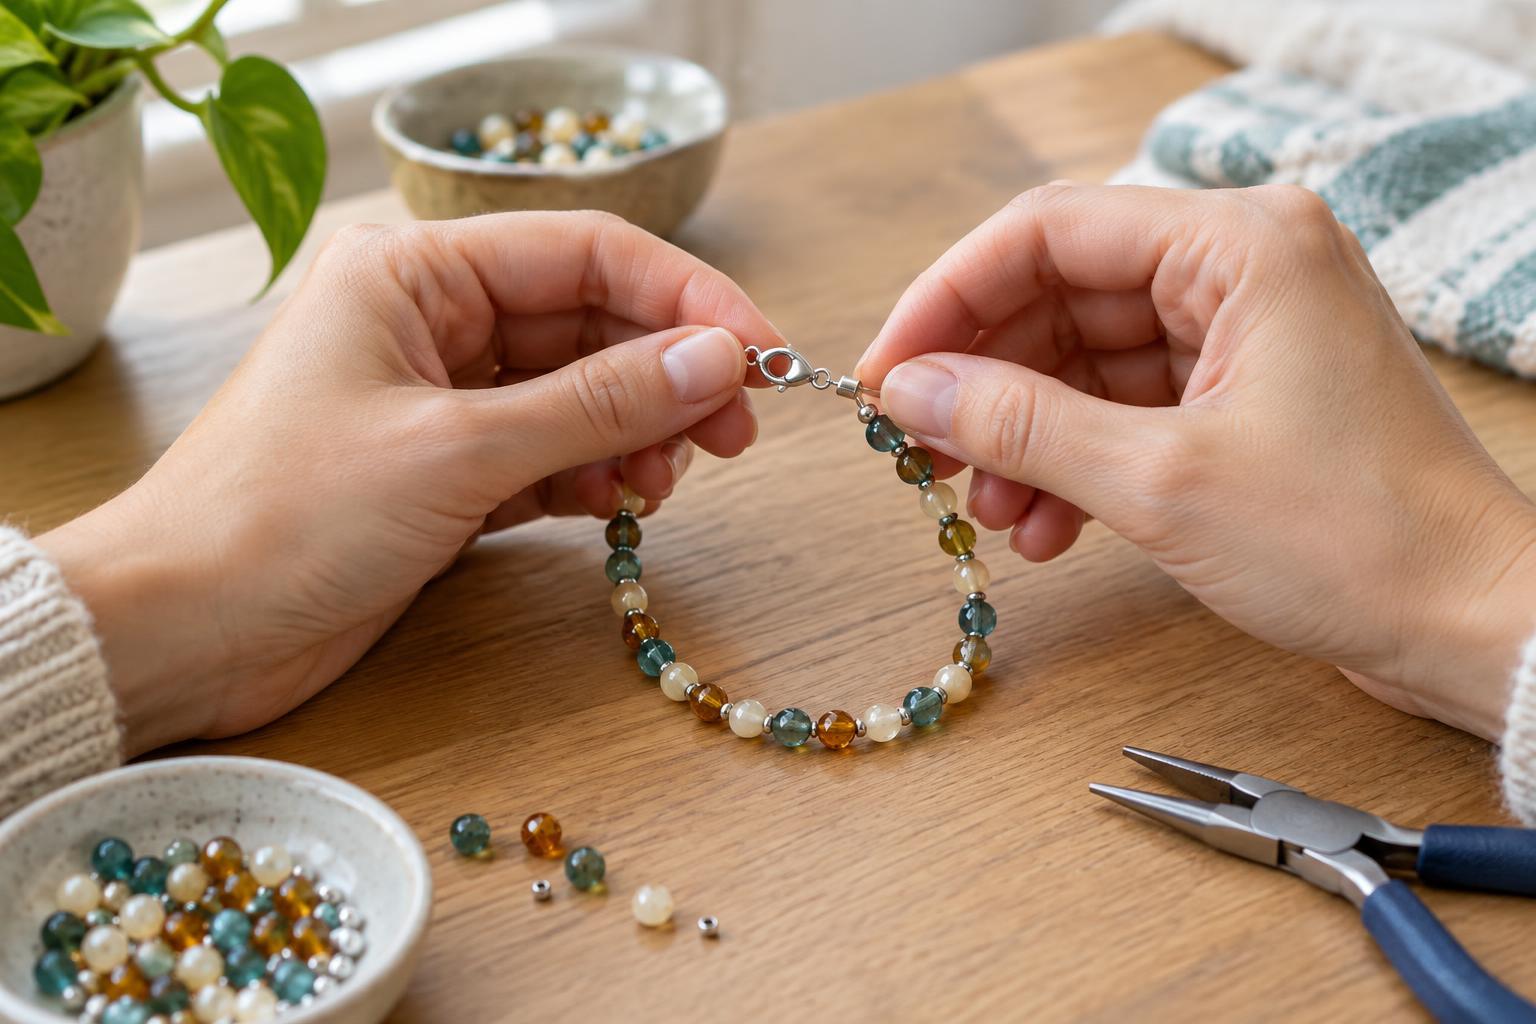
A simple beaded bracelet needs beads, flexible beading wire, two crimp tubes, a lobster clasp and a closed ring for the clasp to catch. You will also need wire cutters and crimping pliers. Bead shops often sell these findings in small quantities, so you can try the project without buying a large assortment.
Look for nylon-coated, multi-strand beading wire rather than ordinary craft wire. It bends comfortably around a wrist and works with crimp tubes, which hold the ends without knots. Before buying beads, check that their holes are wide enough for two passes of your chosen wire: at each end, a short wire tail will be threaded back through the first few beads. Match the crimp tubes to the wire size according to the packaging. For the clasp end opposite the lobster clasp, use a closed ring or a sturdy split ring; an open jump ring can leave a gap if it is not closed properly.
Plan the fit and lay out the beads
Measure the wrist with a flexible tape or a strip of paper, then decide how loose the bracelet should feel. As a starting point, plan for a finished bracelet about 1 to 2 cm longer than the wrist measurement. Large beads take up space on the inside curve, so a bracelet made with them may need more length than one made with small beads. If you are making a gift and cannot measure the wrist, a bracelet you already know fits the recipient is a better guide than a guess.
Lay the beads in order on a tray or towel so they cannot roll away. A repeated pattern is easy to adjust: for example, alternate a feature bead with several smaller beads. Leave room in the planned length for the clasp and ring. Cut a piece of beading wire noticeably longer than the finished bracelet so you have enough to hold while finishing both ends. Arrange the beads before stringing, and check that any particularly heavy or rough-edged beads are suitable for the wire.
Attach the first end and string the bracelet
Slide a crimp tube onto one end of the wire, then pass the wire through the closed ring. Bring the end back through the crimp tube to make a small loop around the ring. Pull the short tail until the loop is neat, but leave enough room for the ring to move freely. Use the crimping pliers as directed for your crimp tubes: typically, you compress the tube in the notched section and then fold it closed with the outer section. Give the ring a gentle tug to check the hold. If the wire slips, cut off the crimp and redo it with a new tube rather than squeezing it repeatedly.
Thread the first few beads over both the main wire and the short tail. If the tail will not pass through the bead holes, trim it close to the crimp with wire cutters, taking care not to nick the main strand. String the remaining beads in your planned order. Pause occasionally to check the length, remembering that the lobster clasp will add a little more.
Finish the clasp and check your work
At the open end, slide on the second crimp tube and then the loop of the lobster clasp. Feed the wire back through the crimp tube and, if possible, through several beads. Adjust the wire until the beads sit close together without being pulled tight. The bracelet should curve naturally; a little space between beads allows it to bend around the wrist. Crimp the tube, then gently tug the clasp and bracelet in opposite directions to check that the wire does not move. Trim the remaining tail close to a bead, not beside bare skin.
Try the bracelet on over a table so dropped beads are easy to find. Check that the clasp catches the ring fully and that no cut wire end scratches your wrist. If the bracelet feels stiff, the beads may be packed too tightly; if large gaps appear, it may be too loose. Either problem is easiest to fix by replacing the crimp at one end and adjusting the length. Once the fit feels right, you can add crimp covers for a tidier finish, but the secure connection comes from properly fitted, firmly crimped tubes.