Start with the activity, not the furniture
Before buying a desk or organizer, write down two or three projects you want to do regularly. Sketching may call for little more than a firm surface and a place for paper. Sewing, model-making or collage may need room to spread pieces out. The goal is to support your real habits, not build a picture-perfect studio that is awkward to use.
Notice where you already have a little space: one end of a dining table, a windowsill for supplies, a corner beside a sofa or a shallow stretch of wall. Measure the surface and the area around it, including space to pull out a chair or open a cabinet. If the spot serves another purpose, plan for a workspace that can be packed away in a few minutes. That makes it easier to start a project without leaving the rest of the home permanently occupied.
Choose a surface that earns its space
Use a table or countertop you own before shopping for something new. A sturdy tray, cutting mat or inexpensive board can give you a defined work area and protect a shared surface. For projects involving paint, glue or clay, add a washable cover or scrap cardboard appropriate to the materials. Test the setup by sitting down and doing a short session; a surface that looks roomy may feel cramped once your tools are out.
If you do need furniture, prioritize a stable surface over built-in storage or decorative features. A secondhand small table, a wall-mounted drop-leaf surface where installation is permitted, or a folding table can work, depending on your space. Check dimensions and stability before committing, especially if you use tools that require steady pressure. Keep walkways, doors and vents clear, and avoid stacking supplies where they might be knocked over.
Give every supply an easy way home
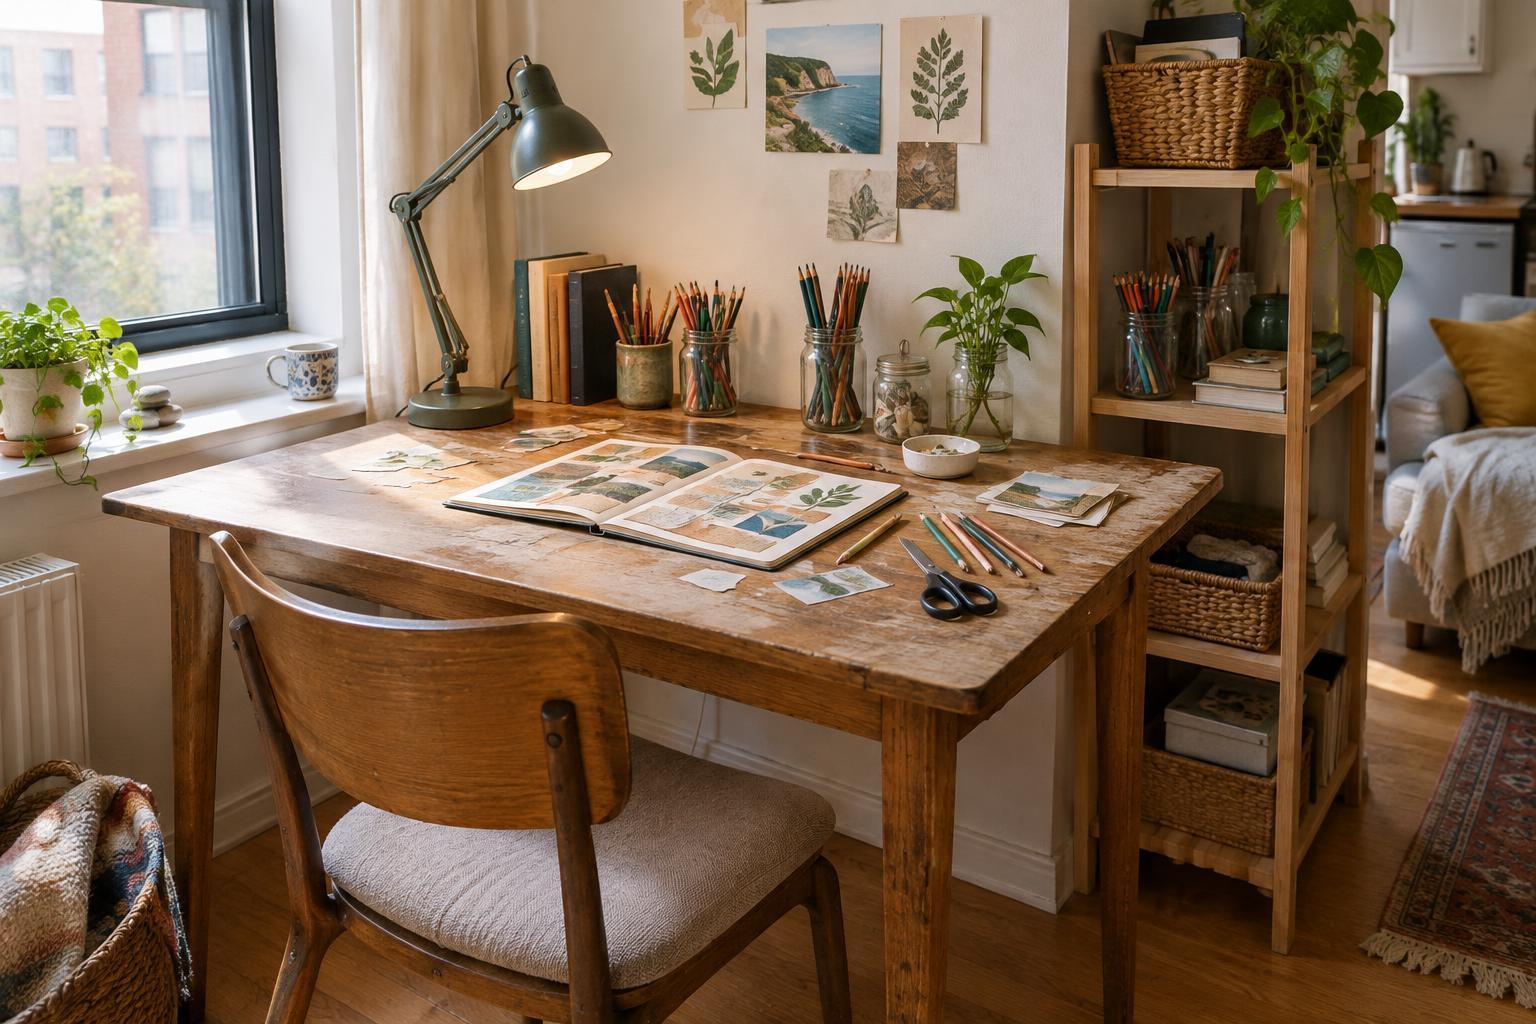
Small spaces benefit from storage you can see and move. Start by gathering your materials and sorting them into three groups: items used nearly every session, occasional supplies and things you no longer expect to use. Put the first group in a caddy, pencil cup or divided box that can travel to your work surface. Less-used items can live on a nearby shelf or in a labeled container.
Reuse what you have before buying matching bins. A shoebox can hold fabric scraps; jars can hold brushes or pencils once clean and dry; envelopes can separate paper pieces. Choose containers based on how you work: shallow ones make small items easier to find, while lidded ones help when a workspace must disappear between sessions. Leave a little empty space so putting things away does not become a puzzle. Store sharp tools, adhesives and other materials according to their labels and out of reach of children or pets.
Make light and comfort part of the plan
Good visibility can make a modest setup much more pleasant. Try your workspace in daylight and after dark, then move a lamp if your hand casts a shadow over the project. An adjustable lamp you already own may be enough. If you buy one, look for a stable base or clamp suited to your surface and check that its cord will not cross a busy walkway.
Comfort matters too, especially for projects that take time. Choose a chair that lets you sit steadily and bring the work close enough that you are not constantly leaning across the table. Keep frequently used tools within easy reach, and make room to stand up and change position. For messy or strongly scented materials, follow product directions and choose a suitable, ventilated work area rather than assuming any corner will do.
Build a reset routine you will actually use
A small workspace stays useful when cleanup is part of the setup. Keep a cloth, a small waste container and the containers for your current supplies close by. At the end of a session, put tools back, close containers and clear enough surface to make starting again inviting. If you are sharing a table, a tray can hold an unfinished project while the table returns to everyday use.
Give the arrangement a trial run before spending more. Work there for a few sessions and note what interrupts you: searching for scissors, poor light, nowhere to dry a painting or too much time spent unpacking. Solve the most frequent problem first, preferably by moving or repurposing something you already own. A creative workspace does not have to be permanent or perfectly tidy. It only needs to make your next project easier to begin.