Choose a puzzle that fits your space
Before opening the box, check the finished dimensions on the packaging. Measure the clear part of your table, not just its outer edge: you will also need somewhere to put loose pieces and the box lid. If the finished puzzle would cover nearly the whole surface, plan to assemble it on a movable board or choose a smaller puzzle. Piece count alone will not tell you how much room you need, because finished sizes vary.
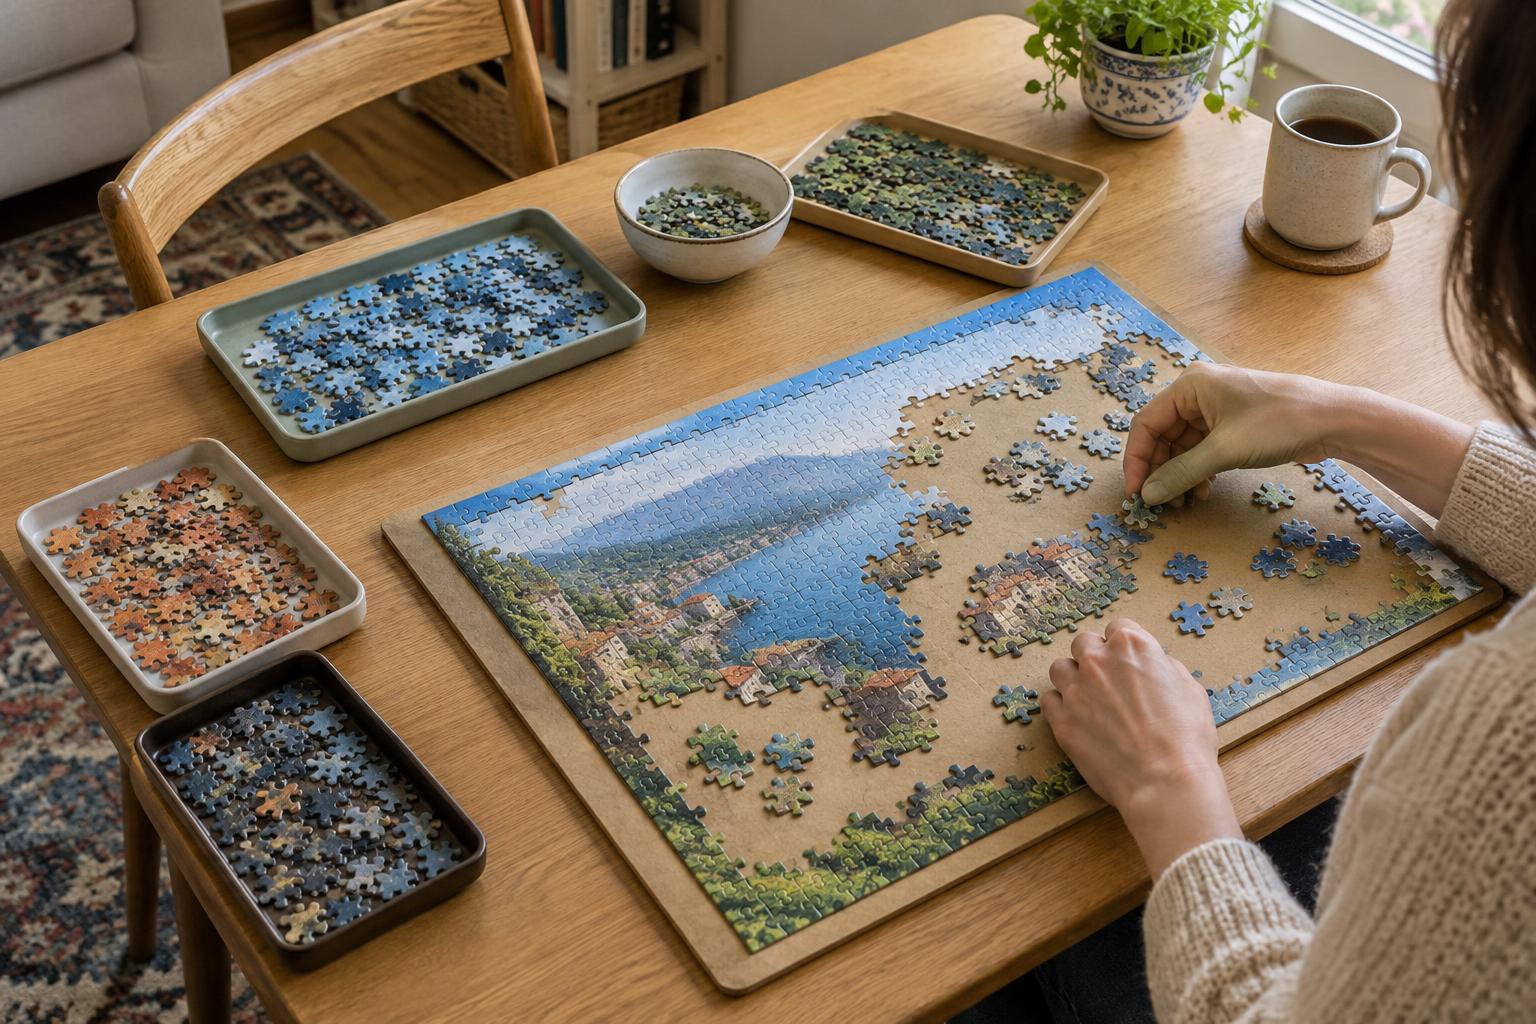
A board, sturdy tray or sheet of firm cardboard gives the puzzle a defined workspace. It should be larger than the finished image and flat enough that pieces will not slide into a crease. If you hope to move it between sessions, test the board on the table before adding pieces. Make sure you can lift it comfortably and that it fits wherever you intend to store it.
Set up the table without filling it
Clear the table and place the puzzle board where you can reach its center without stretching. Good light helps you distinguish similar colors and piece shapes; a movable lamp can be more useful than relying on a dim overhead light. Keep drinks away from the pieces, and put the box lid upright or nearby where you can glance at the picture.
Use shallow containers, spare food tubs or clean envelopes as sorting stations. They can sit beside the board while you work and stack or move aside when the table is needed for something else. Leave a small clear area for examining one piece at a time. A crowded surface makes it harder to tell whether a piece is missing or merely hidden under your hand.
If you share the table, decide at the start how you will pause. A board that slides onto a shelf may be enough. For a more temporary setup, keep a second tray ready for loose pieces and a note describing which groups you have already sorted. The aim is not to create a perfect system; it is to make the next session easy to begin.
Sort in useful, manageable groups
Turn the pieces picture-side up, working through a few handfuls at a time rather than spreading the entire box across the table. Pull out obvious edge pieces if you like building the border first, but do not spend a whole session hunting for every edge. Some puzzles have subtle borders, and a few pieces that look like edges may turn out to be something else.
Next, make broad groups you can recognize in the finished picture: a bright object, lettering, a person, a patch of sky or a distinctive pattern. Put each group in its own container. Avoid creating so many categories that you have to search every tray for each piece. If a piece could belong in several places, give it a temporary “unsure” group instead of stopping to decide.
As you build, you can sort a difficult group more closely by shade, texture or piece shape. It helps to change your sorting system only when it solves a problem you actually have. On a small table, fewer loose piles mean more room to compare pieces and turn sections around.
Build small areas, then connect them
The border can establish the puzzle’s footprint, but it is not the only good starting point. A distinctive sign, face or color block may be easier to assemble first. Work on one recognizable area at a time and keep completed sections on the board, even if you do not yet know exactly where they join the rest of the image.
When colors look similar, compare details before trying every possible fit. Look for the direction of a line, a change in texture or the shape of the tabs and gaps. A piece that needs pressure is probably not in the right place. If you get stuck, switch to another section or turn pieces in your current group so they all face the same way. That often makes differences easier to see.
Leave space around a completed section until you are ready to move it. To reposition a larger connected area, support it from underneath with a thin piece of cardboard rather than pulling it across loose pieces. Progress may look uneven: one session might produce a large section, while another is mostly sorting. Both make the remaining choices simpler.
Pack up so you can pick up where you left off
At the end of a session, return unsorted pieces to the box or a closed container and cover or stack your sorted groups. Check the floor and chair before moving the board, especially if pieces may have slipped off the table. If children or pets can reach the setup, store loose pieces and the board somewhere secure.
Keep any connected sections flat, and avoid stacking them directly on top of loose pieces. A brief note such as “blue tray is the roof” can save time later. When you return, uncover just the group you plan to work on. A small table works best when you treat the puzzle as a series of short, tidy sessions rather than trying to keep every piece in view at once.