Gather a few simple supplies
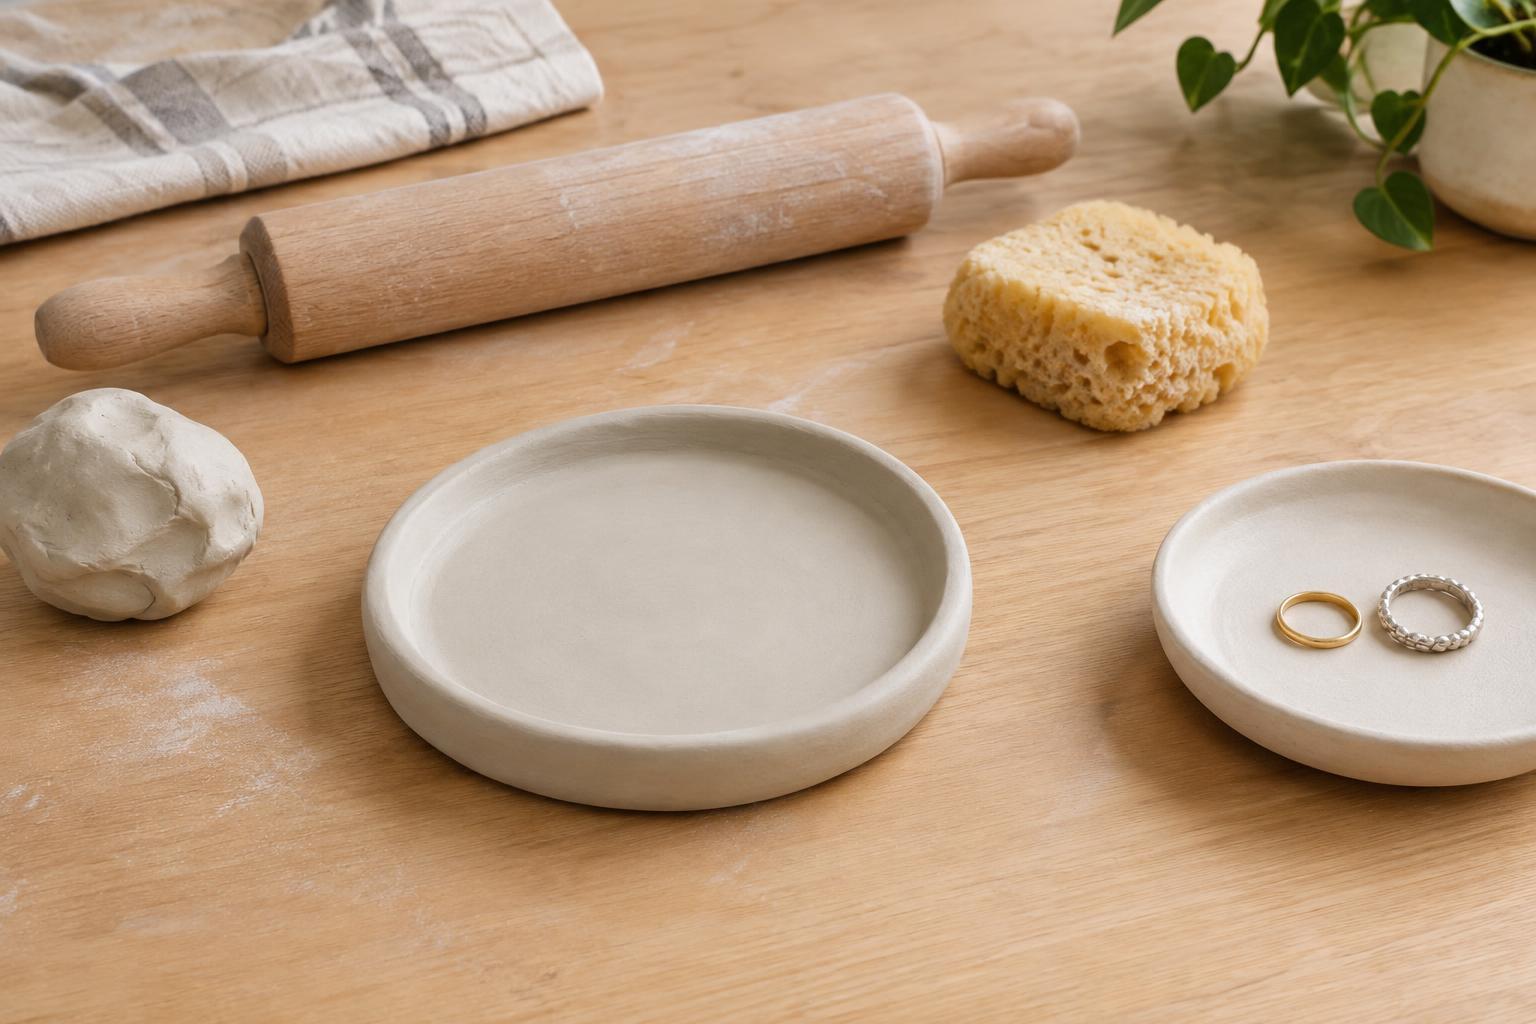
An air-dry clay tray gives keys, rings, or other small objects a place to land. You do not need a pottery wheel or kiln: set out air-dry clay, a smooth work surface, a rolling pin or straight-sided glass, and a small bowl to use as a shape guide. A butter knife or clay tool can trim the edge. Keep a little water and a soft brush or fingertip nearby for smoothing.
Choose a bowl with a gently curved interior rather than a deep, steep-sided one. Your tray will be easier to shape and less likely to slump while it dries. If you plan to use the bowl as a mold, line it loosely with plastic wrap so the clay can be lifted out. Check your clay package before you begin; brands differ in their recommended thickness and drying method. This project is for holding dry objects, not serving food.
Roll an even base
Knead the clay briefly until it feels workable, then roll it into a slab on a clean, smooth surface. Aim for a thickness close to 6 mm, or follow the range on your clay package. The exact measurement matters less than consistency: a thick center and thin rim can dry at different rates, putting strain on the piece. If one area looks noticeably thinner, roll again rather than trying to patch it later.
Place a small plate or bowl over the slab and trace around it to cut a circle. Lift away the scraps and smooth the cut edge with a barely damp finger. Use water sparingly. Too much can turn the surface slippery and make delicate edges harder to control. Save the scraps in their packaging while you work so they do not dry out.
Shape a shallow dish without stretching it
Lay the circle into your lined bowl and ease it into the curve with your fingertips. Press gently from the center outward instead of pulling the rim down. Stretching one section can leave it thinner than the rest. For a flatter tray, shape the slab by hand on a level surface and raise the edge only slightly. Either approach works; choose the shape that lets the clay keep a fairly even thickness.
Run a fingertip around the rim to check for thin spots, sharp corners, or small splits. Smooth any tiny surface cracks while the clay is still soft, using only a touch of water. You can add a simple pattern by lightly pressing a leaf or textured fabric into the surface, but avoid deep impressions that weaken the base. Stop shaping once you are happy with it. Repeated bending can make an edge uneven or fragile.
Let the tray dry slowly and evenly
Drying is where patience helps most. Set the tray somewhere it can rest undisturbed, away from direct sun, a heater, or a strong draft. Rapid drying may leave the exposed rim firm while the base is still damp. Follow the package directions for drying time, and allow extra time if the room is humid or the tray is thicker than planned. Do not put air-dry clay in an oven unless its instructions specifically say to do so.
Once the tray feels firm enough to handle without changing shape, carefully remove it from the bowl. Peel away the plastic wrap, then let the underside dry in open air on a flat surface. Turn it gently now and then if needed so no side stays against a damp surface. A tray that feels dry on top may still be cool or darker underneath; wait until it feels dry throughout before finishing it. Slowing the process cannot guarantee a crack-free result, but even thickness and airflow on both sides give the piece a better chance.
Finish it for everyday use
When the tray is fully dry, feel along the edge for rough areas. Smooth small bumps with fine sandpaper, working gently and avoiding clay dust where possible; wipe the piece clean afterward. If a hairline crack has appeared, you can try filling it with a little fresh clay, then let that repair dry fully. A wide crack or a distorted base is harder to hide, but the piece may still be useful as a test of what to adjust next time.
Leave the natural clay visible or paint the tray in thin coats, allowing each coat to dry as directed. A compatible clear sealer can help protect a painted surface from routine handling, but it does not necessarily make air-dry clay waterproof or food-safe. Keep the finished tray indoors and wipe it with a dry or lightly damp cloth rather than soaking it. For your next attempt, note whether the clay was uneven, stretched during shaping, or dried faster on one side. Small changes to those steps often make the next tray easier to manage.