Start with flowers that are easy to press
A good bookmark begins with thin, dry plant material. Small petals, delicate leaves and flowers with fairly flat centers are easier to press than thick blooms or fleshy stems. You can use flowers from your own garden, a bouquet or a friend’s cuttings. If you collect outdoors, take only where picking is permitted and avoid plants you cannot identify or handle comfortably.
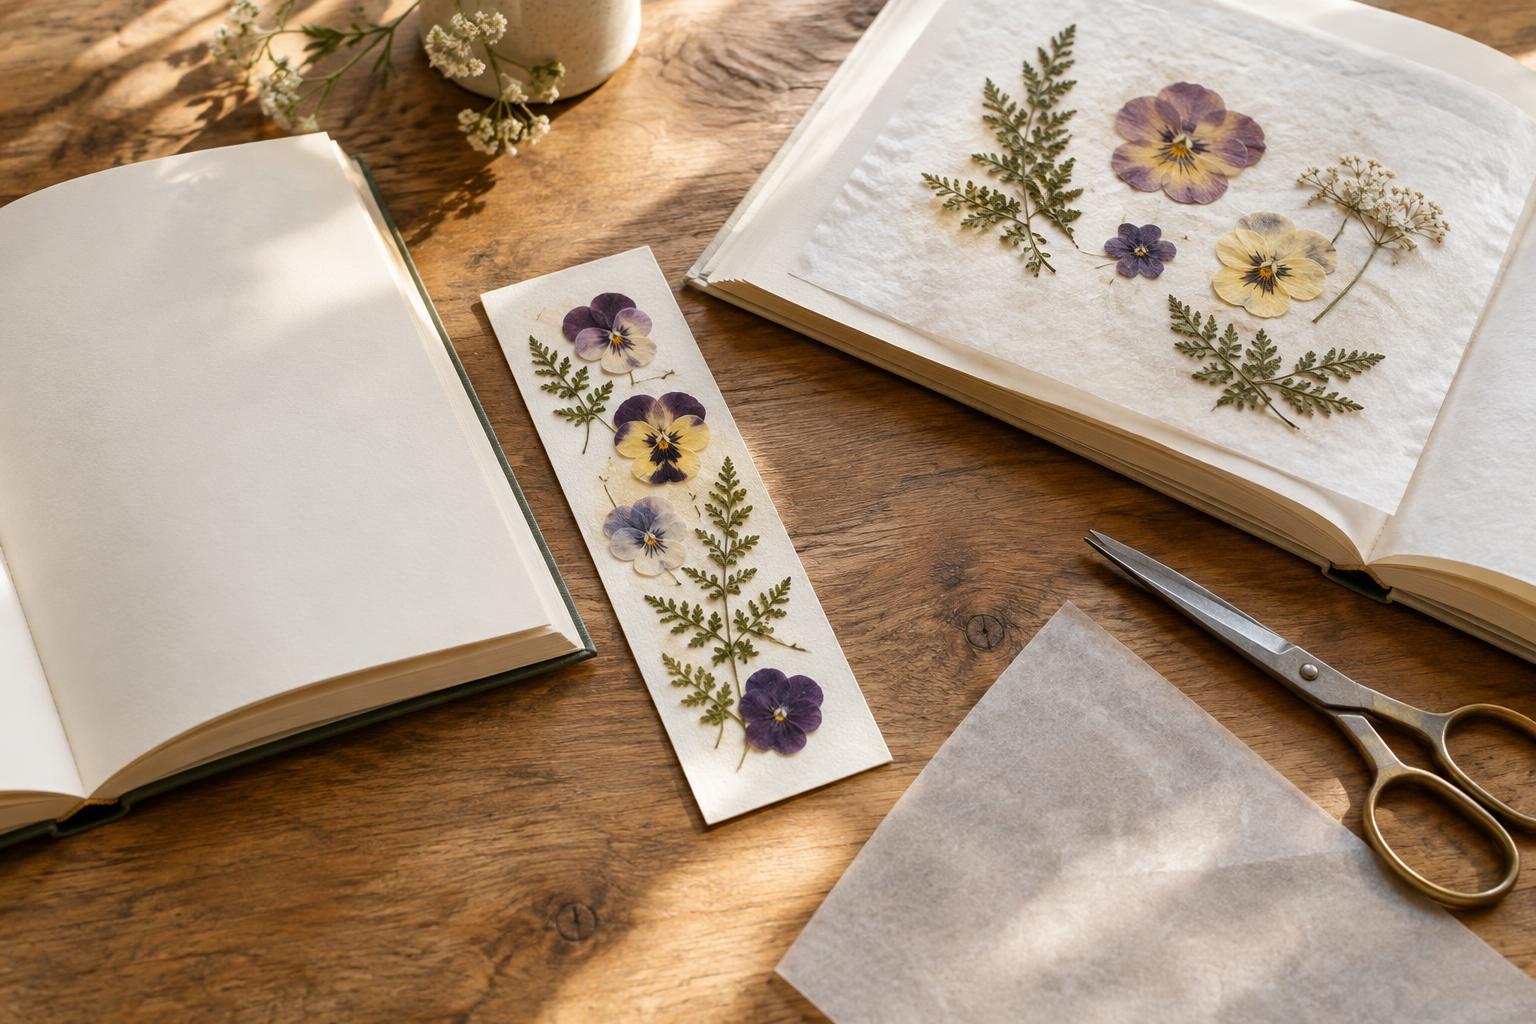
For the bookmark itself, gather two sheets of absorbent paper, a heavy book or flower press, cardstock, clear-drying glue and scissors. Baking parchment can protect book pages, but place absorbent paper next to the flowers so moisture has somewhere to go. Optional supplies include a ruler, a hole punch and ribbon. Keep the design narrow enough to sit inside a book without protruding far past the page.
Press first, and give moisture time to leave
Pat away any surface water before pressing. Arrange the flowers in a single layer between sheets of absorbent paper, leaving space so petals do not overlap unless that is part of your design. Put the paper inside a heavy book, protected by extra sheets if needed, and add weight on top. A flower press works too. Replace paper that feels damp; doing so helps the plant material dry rather than sit against wet paper.
Drying time varies with the flower, the room and the pressure applied, so treat any calendar estimate as a prompt to check, not a guarantee. Thin petals may dry sooner than thick centers or leaves. When you lift a flower, it should feel papery rather than cool, soft or flexible with moisture. If you are unsure, return it to fresh paper and keep pressing. This pause is the most useful step for preventing trapped moisture later.
Build a bookmark without sealing in a damp layer
Cut a strip of cardstock to a size that suits your books. Before using glue, lay the dried flowers on the card and try a few arrangements. A little open space can make the pressed shapes stand out and leaves room for a ribbon hole, if you want one. Once satisfied, apply small amounts of glue to the backs of the flowers and press them gently into place. Too much glue can soak the card or make delicate petals shift.
Let the glued bookmark dry completely in the open air. Check both sides of the card and any thicker flower centers before adding a covering. For a simple finish, leave the flowers uncovered and handle the bookmark gently. If you want more protection, use a clear self-adhesive sheet or laminating pouch only after the flowers, glue and card are fully dry. A clear cover protects against rubbing, but it will also hold in moisture that was already there.
Finish it for everyday use
Trim the edges neatly and round the corners if you prefer a softer shape. If you add ribbon, punch the hole through bare cardstock rather than through a flower. Keep knots and other raised decorations near the top, where they can sit outside the closed book. A thin bookmark is kinder to pages and less likely to fall out than one with bulky layers.
Before placing it in a favorite book, leave the finished bookmark on a dry surface and check it again later. Look for a dry feel and, if it is covered, a clear view through the covering without fogging. If a sealed bookmark develops condensation, discoloration or an unusual smell, do not keep it between pages. Make another with thoroughly dried flowers rather than trying to trap the problem under another layer.
Make the next one easier
Press a few extra petals whenever you start a batch. That gives you options if one tears or dries in a shape you do not like. You can also make several bookmarks from the same flowers: try one with a single bloom, one with a border of tiny leaves and one with a loose scattering of petals. The project works well as a quiet solo activity or a shared craft session, because arranging the dried pieces takes little equipment.
Store unused pressed flowers between clean sheets of paper in a dry place until you are ready to use them. They are fragile, so move them with care and avoid stacking heavy supplies directly on top. The guiding rule is simple: press until dry, glue sparingly and let every layer dry before covering it. That patience does more for a usable bookmark than an elaborate design.