Start with a simple shape
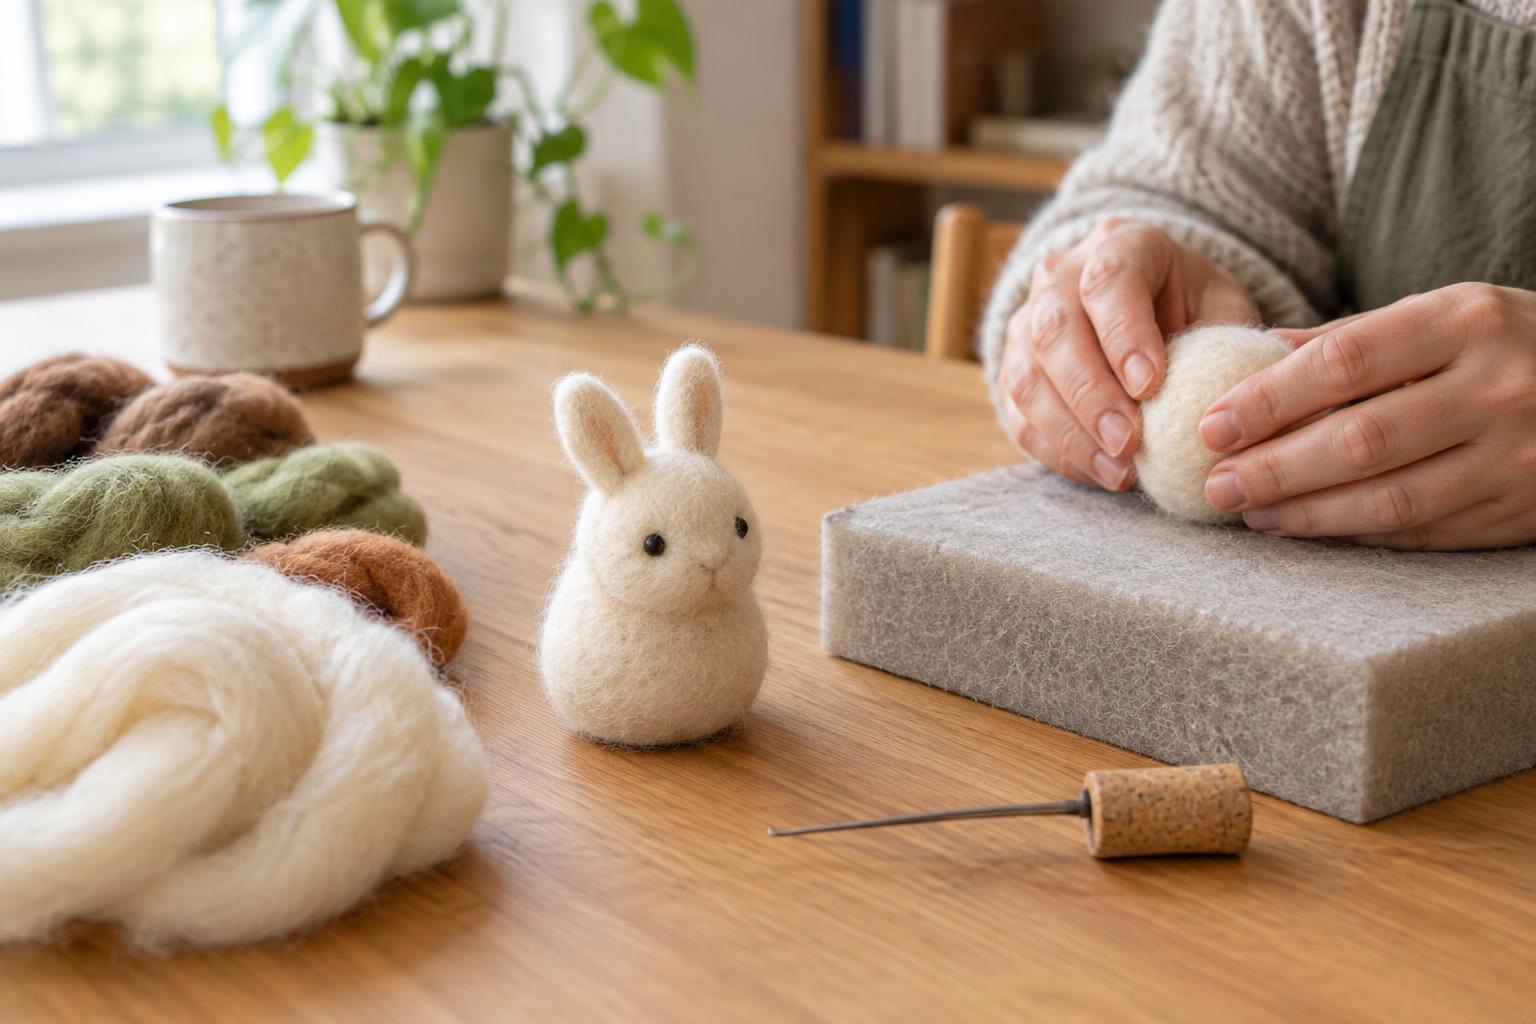
Needle felting uses a barbed needle to tangle loose wool fibers into a firmer shape. Each poke catches and moves some fibers, so a soft bundle gradually becomes something you can hold. For a first project, choose a palm-sized figure built from one rounded body, such as a little bird, bear or imaginary creature. A simple outline lets you practice shaping before you tackle tiny features.
You need wool suitable for needle felting, a felting needle, a thick felting pad or brush mat, and a small container for loose fibers. A beginner kit can be convenient, but you can also buy supplies separately. A spare needle is useful because felting needles can break if bent. Optional finger guards may make it easier to keep your fingertips away from the point while you learn.
Set up a safer workspace
The needle is sharp and fragile, so work at a steady table with good light. Put the felting pad directly beneath the wool, and keep your other hand to the side of the area you are poking. Move the needle straight in and straight out rather than levering it through the wool; a sideways pull can bend or snap it. Use controlled, shallow pokes once the figure begins to firm up.
Give yourself enough room to put the needle down safely whenever you pause. Keep unused needles and broken pieces in a secure container, and check your pad and work surface before you finish. If children or pets share the space, store the needles and loose wool out of their reach. Take a break if your hand tires or you find yourself rushing: this project rewards patient, repetitive work.
Build the body in layers
Pull off a modest tuft of wool and roll or fold it loosely into an oval. Place it on the pad and poke across the surface, turning the bundle often so it firms up evenly. It may look untidy at first. Keep rotating it, and use the needle to tuck stray edges toward the middle. The goal is a shape that holds together while still giving slightly when pressed.
Add small wisps of wool wherever the body needs more volume. Thin layers attach more easily than one large lump and give you more control over the outline. To suggest a head, you can build up one end of the oval rather than making a separate piece. If you do make a separate head, leave one side of it fluffy; those loose fibers help join it to the body as you poke around the connection.
Check the figure from the front, back and sides as you go. If one area looks too large, work on it gradually instead of repeatedly stabbing the same spot. Wool tends to become denser as you felt it, but a severely uneven shape can be easier to balance by adding a little wool elsewhere. Stop shaping when the figure feels stable and looks recognizable to you, not when every surface is perfectly smooth.
Add features without losing the shape
For a first figure, limit yourself to a few details: perhaps two small ears, a contrasting belly patch or a tiny tail. Make each raised piece from a separate pinch of wool, leaving its attachment end loose. Hold the piece in position on the pad and poke through that loose end into the body, working around the join until it stays put. Avoid pushing a needle through your fingers to hold a tiny piece; finger guards or a tool can help keep your hands clear.
Flat markings take even less wool. Spread a thin wisp over the surface and use light pokes to anchor its edges before working across the middle. For eyes or a nose, begin with the smallest pinch you can comfortably handle and add more only if needed. Details often appear larger once attached, and simple features can give a small figure plenty of character.
Finish, tidy up and try another
Turn the figure under the light and look for loose patches or joins that need a few more pokes. You can gently trim long stray fibers with scissors, but a slightly fuzzy finish suits a handmade wool figure. It is best treated as a decorative object rather than a toy, particularly if it has small attached parts.
When you finish, put the needle away before clearing the table, then collect wool scraps and inspect the pad. Keep any usable scraps for future details. Your next figure can use the same basic method with a different outline or color scheme. Repeating a small project is a low-pressure way to learn how much wool to start with and when to stop felting.