Gather supplies and decide on the size
You will need woven cotton fabric, matching all-purpose thread, a sewing machine, scissors, pins or clips, a ruler or tape measure, and an iron if available. A fresh needle suited to ordinary woven fabric is helpful if the one in your machine is dull or damaged. Wash and dry the fabric the way you expect to wash the finished case, then smooth it before cutting. This helps you avoid a case that changes size after its first wash.
This design uses two identical rectangles, joined along three sides, with a hemmed opening at one short end. For a comfortable fit, measure a pillowcase you already like while it lies flat, or measure your pillow and allow a little ease rather than making the fabric tight around it. Call your desired finished flat width W and length L. If you plan to sew with a ½-inch seam allowance, cut each panel W plus 1 inch wide. For the length, add ½ inch for the closed-end seam and 1½ inches for a hem made with a ½-inch fold followed by a 1-inch fold. That makes each panel L plus 2 inches long. Mark the opening end of both pieces so you do not hem the wrong edge.
Thread the machine and test a scrap
Put the spool on its holder and raise the presser foot before threading the top of the machine. Raising the foot generally opens the tension discs so the thread can settle between them. Follow your machine’s marked path through the guides and take-up lever, then thread the needle in the direction shown in its manual. Wind and insert the bobbin according to your machine’s instructions; bobbin placement and thread direction vary by model. Leave a short tail of both threads behind the presser foot.
Set the machine to a straight stitch at a medium stitch length, around 2.5 mm if it has a numbered setting. Sew a few inches on a folded scrap of your pillowcase fabric. The stitches should look even on both sides, without loops or severe puckering. This small test is easier to undo than a long seam on your project. If the machine behaves oddly, stop and check the threading before changing several settings at once.
Hem the opening, then sew the case
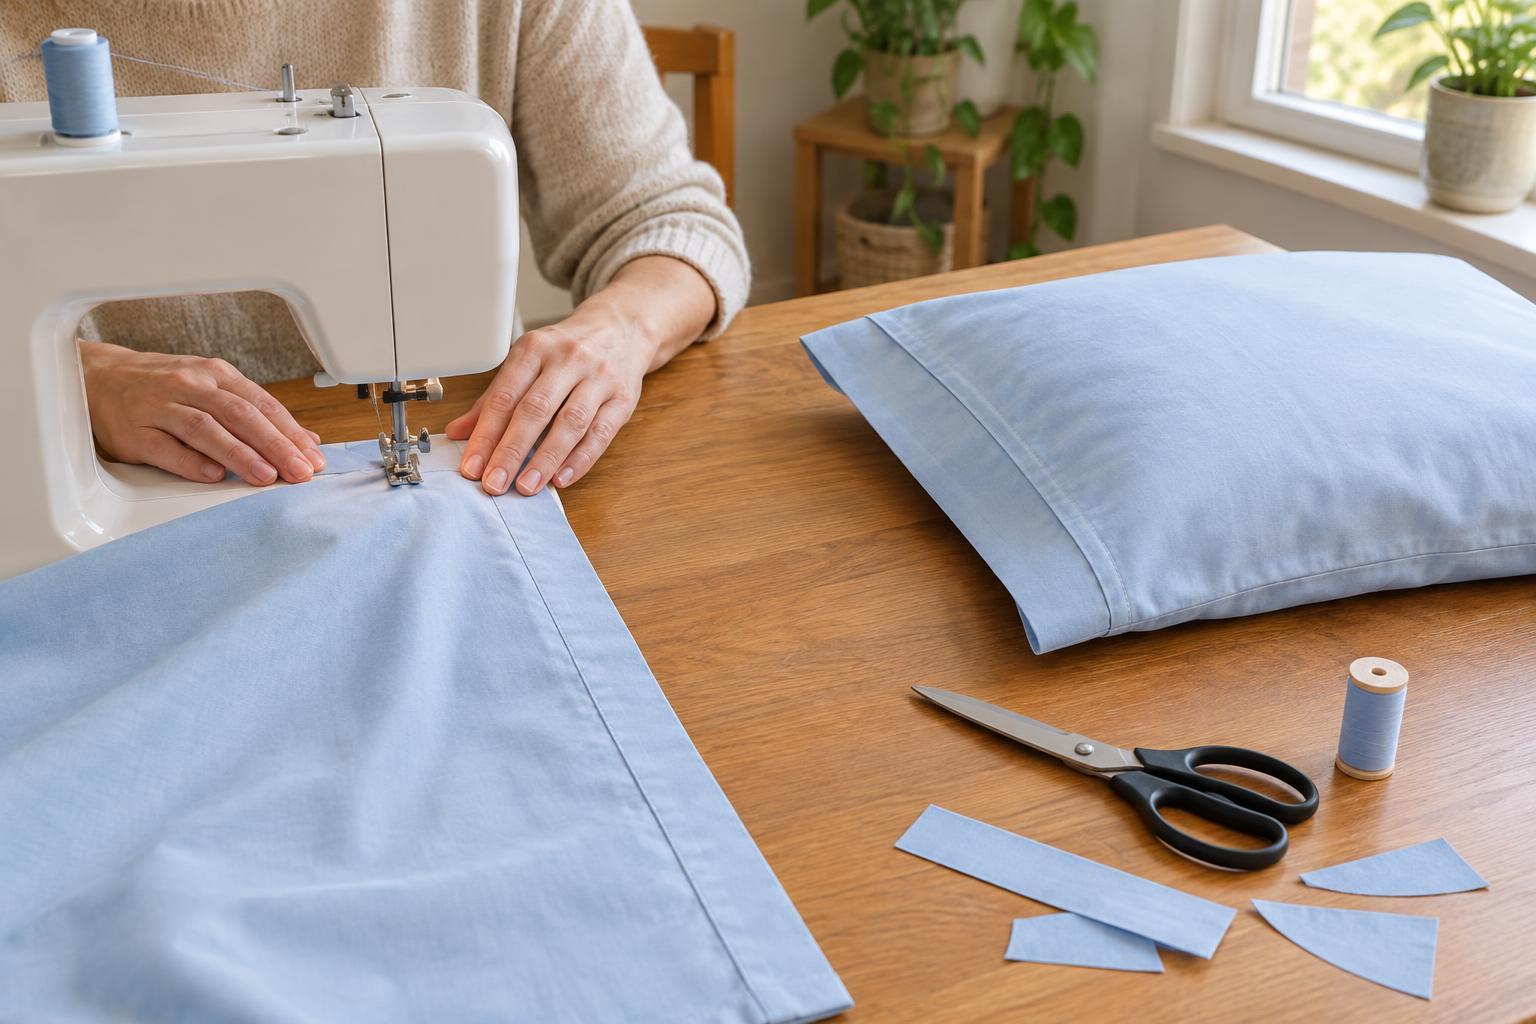
Lay one panel with its wrong side facing up. At the marked opening end, fold the raw edge toward the wrong side by ½ inch, then fold it again by 1 inch. Press or carefully finger-crease both folds and secure them with clips or pins. Repeat on the second panel. Sew each hem close to its inner folded edge, removing pins before they reach the needle. Try to guide the fabric gently rather than pulling it through the machine.
Place the two panels together with their right sides facing each other and their hemmed ends aligned. Pin or clip the two long sides and the unhemmed short end. Sew those three edges with a ½-inch seam allowance, leaving the hemmed end open. Start and finish each continuous seam with a few reverse stitches to help secure the thread. At a corner, stop with the needle down, lift the presser foot, turn the fabric, lower the foot, and continue. Keep your hands clear of the needle as you guide the next edge.
Finish the edges and turn it right side out
Trim loose thread ends and inspect the seams before turning the case. To reduce fraying, you can sew a zigzag stitch along the raw seam allowances, taking care not to catch the body of the case. If your fabric frays readily, finishing these edges is especially worthwhile. Trim a little excess fabric from the two closed corners without cutting through the stitching; this makes the corners less bulky.
Turn the case right side out through the opening. Ease out the corners with a fingertip or a blunt tool, then smooth and press the seams and hems. Slip the pillow inside to check the fit. A basic case does not need a closure: the open, hemmed end is part of the design.
Fix common machine mistakes without starting over
Loops underneath the fabric often mean the upper thread missed part of its threading path. Rethread it with the presser foot raised, and check that the bobbin is seated correctly. If stitches skip, check that the needle is fully inserted and not bent; replace it if needed. If the fabric gathers or puckers, try a fresh needle, avoid tugging the fabric, and test a slightly longer stitch on a scrap.
A wandering seam usually comes from watching the needle instead of a guide. Line up the fabric edge with the seam-allowance mark on the machine’s plate and watch that mark as you sew. If the fabric jams at the beginning, hold both thread tails lightly for the first few stitches and begin a little farther from the edge. When you need to remove a seam, use a seam ripper slowly and pull out the cut threads rather than yanking the fabric. A pillowcase is forgiving: a slightly uneven line still makes a useful finished project.