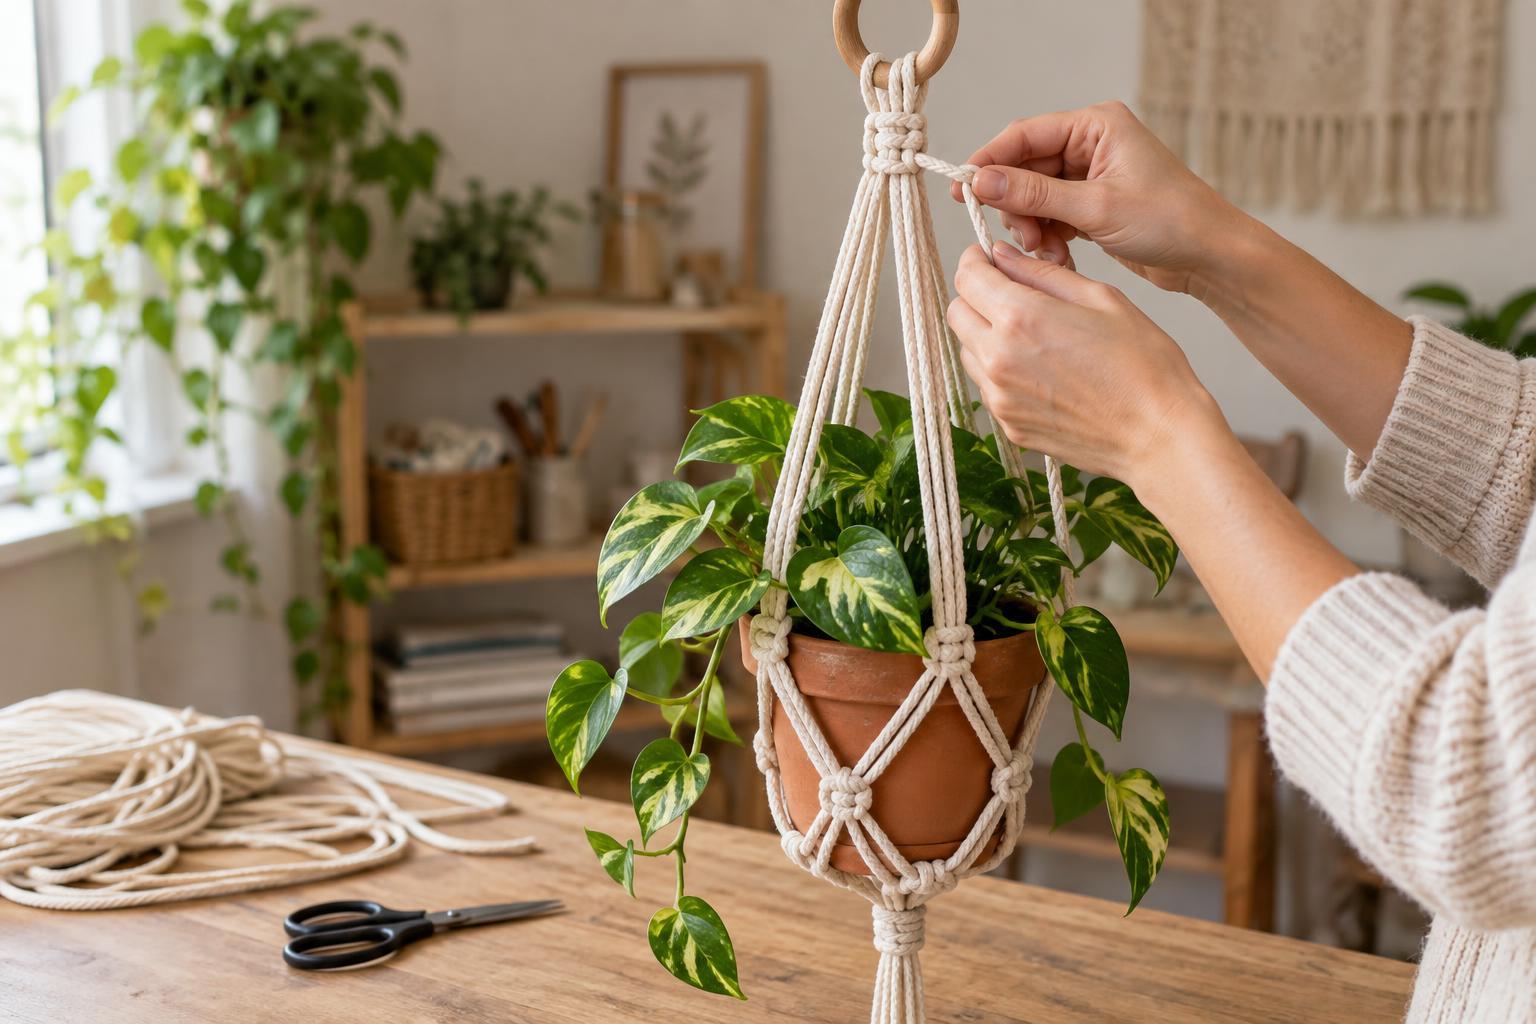
Gather supplies and choose a pot
A plant hanger is a friendly first macramé project: the knots repeat, small differences in spacing are easy to adjust, and you can see the basket take shape as you work. For this version, gather four lengths of cotton macramé cord, each about 2.5 metres long and roughly 4–5 mm thick. You’ll also need a sturdy ring, scissors, a measuring tape and a small pot, around 10–12 cm wide, to use while checking the fit.
Choose a pot you can lift comfortably with one hand. A lightweight cover pot is convenient for fitting the hanger; if the plant sits in a pot with drainage holes, plan how you’ll catch or remove water before hanging it. Cord can stretch and knots can settle under weight, so save heavy ceramic pots for a hanger and hanging point designed to support them.
Attach the cords and learn the square knot
Fold one cord in half and push its folded loop through the ring. Pass both loose ends through that loop and pull snug. This is a lark’s head knot. Repeat with the other three cords. You now have eight hanging strands. Keep them untangled by laying them out in order, or hang the ring from a hook at a comfortable working height.
Divide the eight strands into two groups of four. About 10–15 cm below the ring, tie a square knot in each group. To make one, treat the middle two strands as the centre and the outside two as working strands. Bring the left strand over the centre pair and under the right strand. Bring the right strand behind the centre pair and up through the loop on the left; tighten gently. Reverse those movements to complete the knot: right over the centre and under the left, then left behind the centre and up through the loop on the right. Keep the two knots level with each other.
The square knots form a simple upper detail, not the part that holds the pot. If a knot twists into a spiral, you may have repeated the same half instead of reversing it. Loosen it and try again. Neat, even tension matters more here than pulling every strand as tight as possible.
Build the basket with paired overhand knots
Below the square knots, arrange the eight strands into four adjacent pairs. At about 30 cm below the ring, tie one overhand knot in each pair, keeping all four knots at the same height. For an overhand knot, hold the two strands together, make a loop with them, pass both loose ends through and tighten. These knots form the upper edge of the basket.
For the next row, separate each pair again. Take one strand from a pair and tie it to the nearest strand from the next pair with an overhand knot, about 8–10 cm below the first row. Continue around the basket, joining the last loose strand to the first so that you have four knots in this row too. Looking down from the ring can help you see which strands are neighbours. If you accidentally join strands across the middle, undo that knot and reconnect them around the outside.
Gather all eight strands beneath the second row and tie them together in one large overhand knot, initially about 7–9 cm lower. This bottom knot supports the base of the pot. Do not trim the tails yet: you may want to move this knot after a test fit.
Fit, adjust and hang it securely
Set the empty pot into the basket while holding the ring. The four upper knots should sit around its sides, the crossing strands should cradle it evenly, and the large bottom knot should sit under its base. If the pot tilts, compare the heights of matching knots and adjust them before tightening everything fully. Moving the bottom knot upward makes a shallower basket; moving it downward gives a taller pot more room.
Once the fit looks balanced, tighten each knot and trim the eight tails to a length you like. Add the planted pot and test the hanger close to the floor before moving it to its final spot. Use a secure hanging point suited to the combined weight of the plant, pot and water, and keep the hanger where it will not be bumped. When watering, take the pot down if needed so excess water does not drip onto furniture or flooring.