Start with a repair you can reach
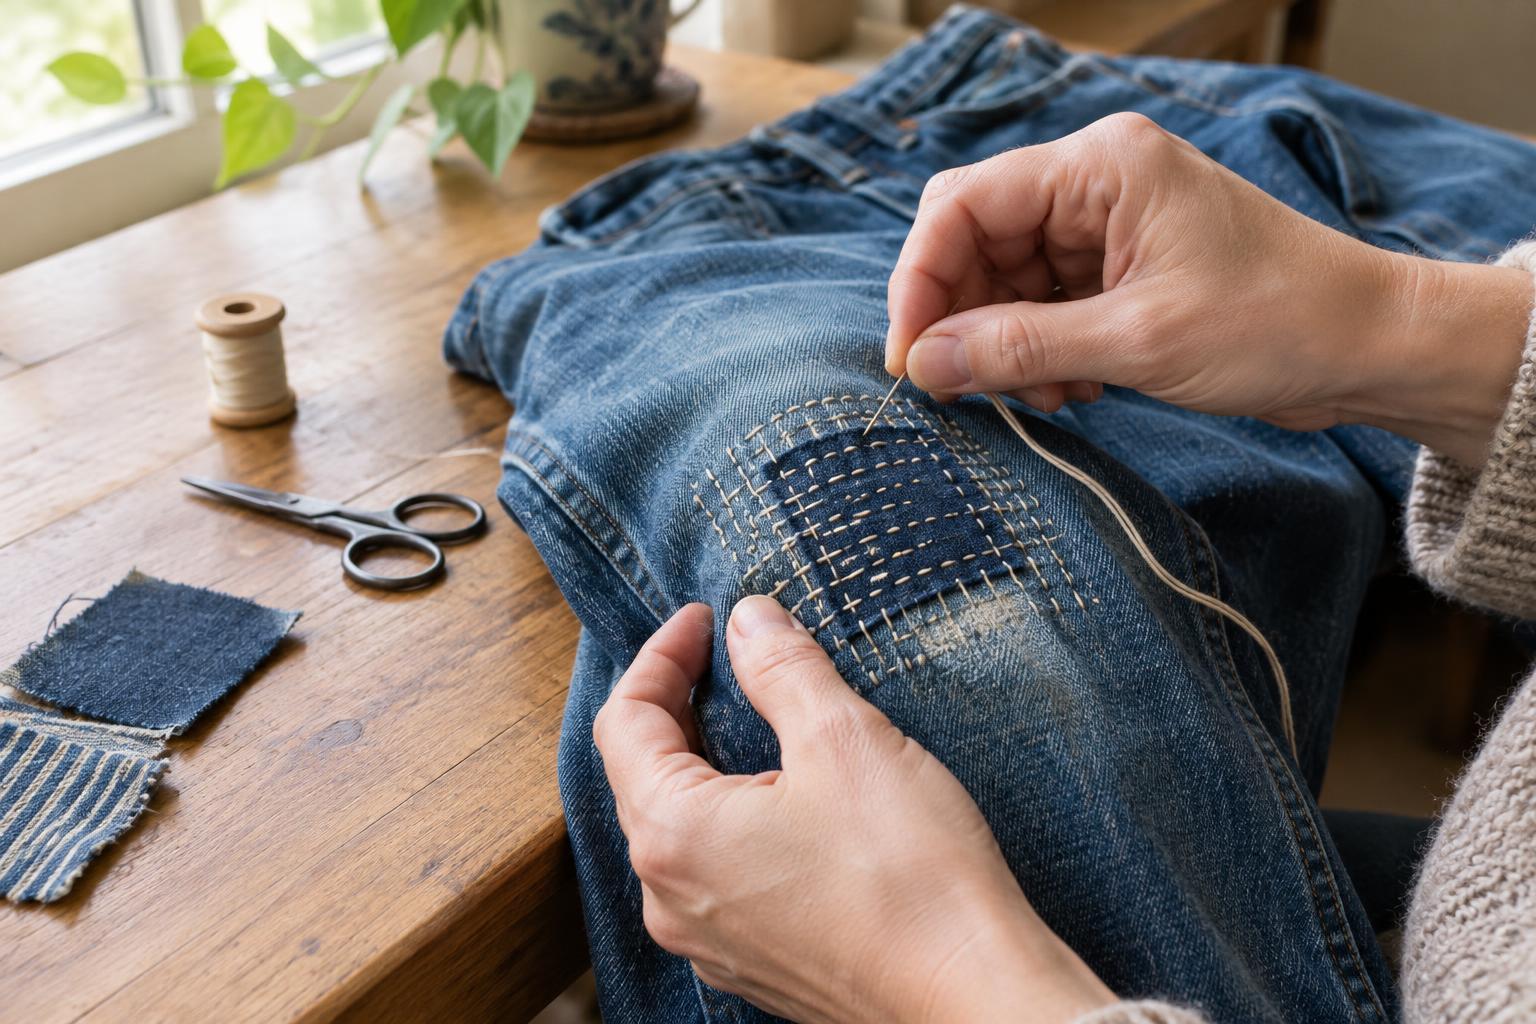
Visible mending turns a repair into a design choice. Instead of trying to hide a patch, you can use contrasting fabric or thread to give a worn pair of jeans a new detail. A small hole or thinning area on a leg is a good first project: you can lay the fabric flat and reach both sides while you sew.
Wash and dry the jeans before you begin. Look closely at the damaged area, including any thin fabric around the hole. Your patch should extend beyond all the weak spots so the stitches have sound denim to hold onto. If the damage runs into a thick seam, pocket corner, or zipper area, consider choosing an easier spot for your first hand-sewn repair. Those areas can be awkward to stitch and may need a different approach.
Gather a few simple supplies
You will need a scrap of sturdy fabric, a hand-sewing needle, thread, scissors, and pins or sewing clips. An old pair of jeans can provide a matching patch; canvas or another firmly woven fabric can add contrast. A thimble may help you push the needle through denim. Choose a needle that feels strong enough for the fabric, and avoid forcing one that bends.
For a visible design, use embroidery floss or other sturdy thread in a color you enjoy. Ordinary sewing thread also works, especially if you prefer smaller stitches. Check that the patch fabric has been washed or is unlikely to shrink differently from the jeans. Cut the patch large enough to cover the worn area with a generous border, then round its corners so they are less likely to catch or curl.
Position the patch before you stitch
A patch behind the hole lets the original frayed denim remain visible on top. A patch on the outside makes the new fabric the main feature. Either placement can work. For a first attempt, an outside patch is often easier because you can see its edges as you sew.
Lay the jeans flat and smooth the fabric without stretching it. Place the patch over the damage and pin or clip it in place. If you are patching a leg, keep the front and back of the leg separate so you do not accidentally sew them together. You can slip a piece of cardboard inside while positioning the patch, but remove it before stitching. Try the jeans on carefully, or compare the patched area with the other leg, to check that the fabric still sits comfortably.
Sew for strength, then add character
Thread your needle and knot the end. Begin from the inside of the jeans to hide the knot. Sew around the patch edge with small running stitches, taking a bite of both the patch and the sound denim beneath it. Keep the stitches fairly even, but do not worry about making them identical. Aim for a secure edge without pulling the thread so tight that the jeans pucker.
Once the perimeter is attached, add a few lines of stitching across the patch to keep it from lifting or shifting. Straight rows are simple; short parallel stitches can also create a decorative pattern. If the surrounding denim is thin, extend some stitches beyond the hole into sturdier fabric rather than concentrating every stitch at the torn edge. Finish on the inside with a secure knot and trim the thread tail. Run a finger over the repair to find any loose corners or uncomfortable knots.
Wear it, check it, and mend again if needed
Put the jeans on and move around before calling the repair finished. Sit down, bend your knee, and notice whether the patch pulls or feels stiff. If it does, you may be able to ease a few stitches and sew them again with less tension. A patch at a spot that rubs constantly may need extra stitching or a softer fabric on the inside.
After a few wears and washes, check for loose threads and new thinning around the patch. A quick touch-up is easier than waiting for the area to tear again. The finished repair does not have to look factory-made: its purpose is to make the jeans wearable while showing the care you put into them. Once you have tried one patch, you can experiment with different colors, shapes, and stitch patterns on the next one.