Start with a simple kite and a manageable breeze
Kite flying can be an inexpensive reason to spend an hour outdoors. For a first attempt, choose a single-line kite, such as a basic diamond or delta, rather than a kite designed for tricks. Look for one with clear assembly instructions and a line already matched to it. You should be able to put it together without forcing any rods into place.
A steady, gentle-to-moderate breeze is easier to learn in than gusty weather. If leaves are moving and you can feel the wind on your face, it may be worth trying; if branches are thrashing or the kite pulls hard before it has even lifted, save the flight for another day. Check the guidance that came with your kite, since designs differ. Skip flying when rain or a thunderstorm is possible.
Choose a space with room in every direction
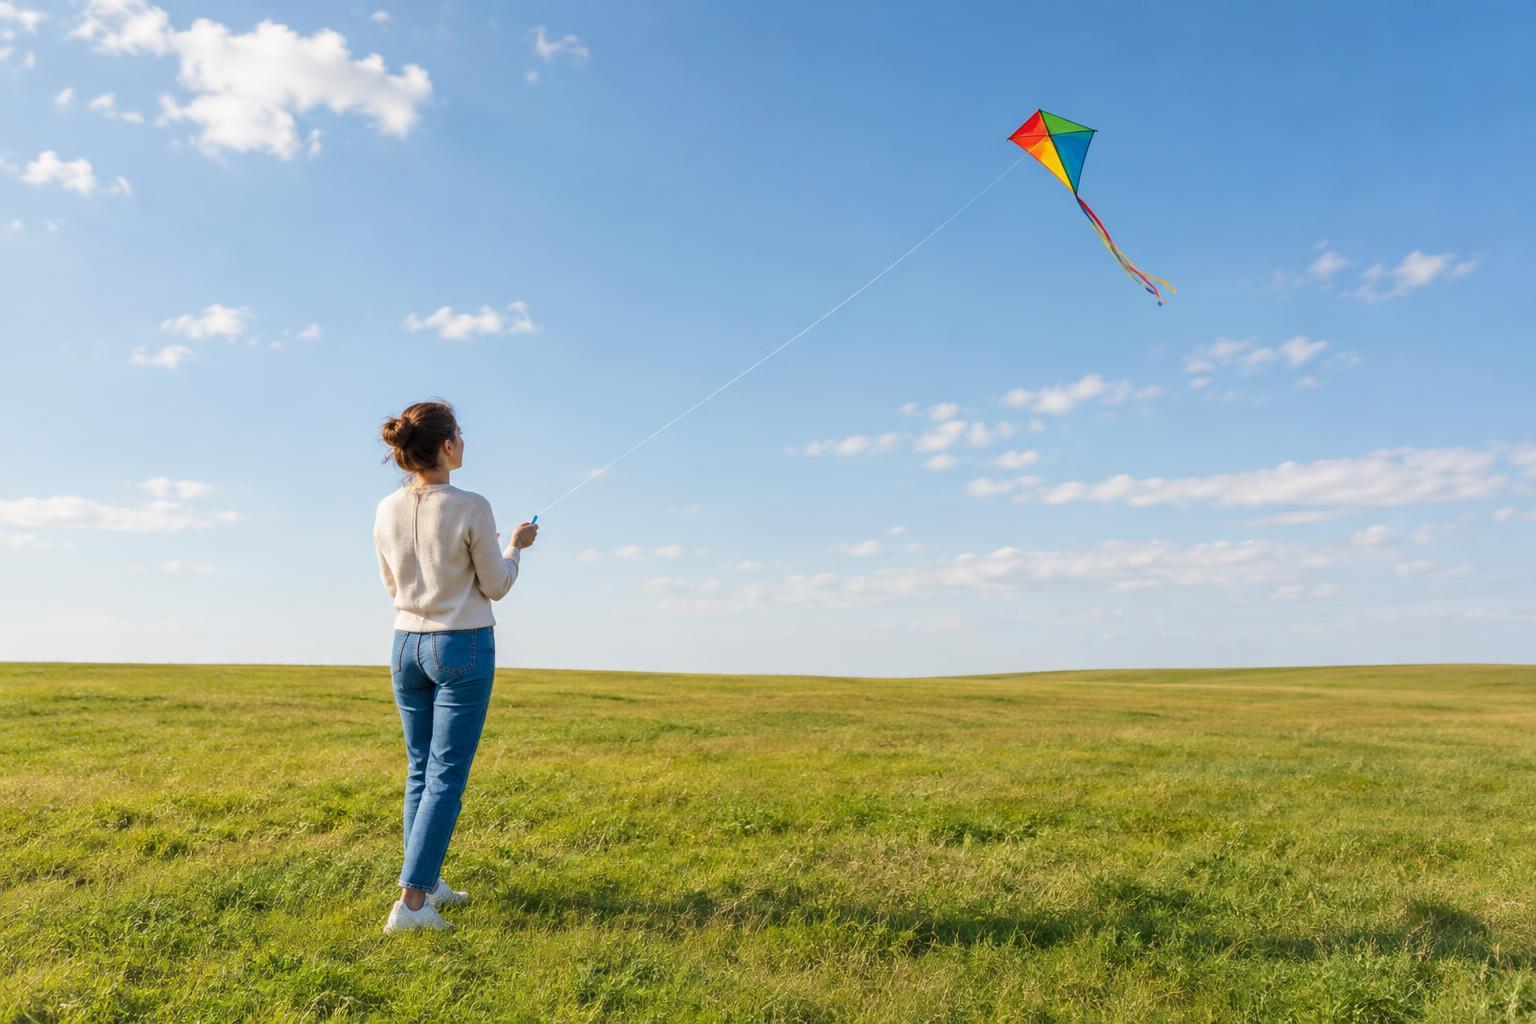
An open field or broad stretch of beach is usually more forgiving than a small yard. Look beyond the spot where you plan to stand: your kite and line need room downwind, and the kite may drift sideways or fall. Keep well away from power lines, roads, railways, buildings, trees and crowded paths. Never fly near an airfield, and check posted rules before flying in a park or other shared space.
Notice how other people use the area. Pick a place where your line will not cross a walking route, picnic spot or playing field. Give birds and other wildlife space, especially where they are nesting or gathering. If the field feels cramped once you imagine the full length of your line stretched across it, choose a different spot or use less line.
Set up and make your first launch
Assemble the kite according to its instructions, then check that its rods are seated, the sail is not twisted and the flying line is firmly attached at the specified point. Let out only a short length of line to start. Stand with your back to the wind so the kite faces into it. Keep the line on its reel or handle rather than winding it around your hand.
A helper can make the first launch easier. Ask them to hold the kite upright a short distance downwind, with its front facing you. When the sail catches the breeze, they can release it without throwing it. Gently take up slack as the kite rises, then let out line gradually once it is flying steadily. If you are alone, prop the kite upright on the ground downwind, step back with the line, and lift it with a gentle pull when the breeze fills the sail. Avoid running backward: it is easy to trip while watching the kite instead of the ground.
Keep it steady, then land it calmly
Small adjustments work better than sharp tugs. If the kite begins to sink, take in a little line to help it catch the wind. If it is climbing smoothly, let out line in short amounts while maintaining light tension. A kite that repeatedly dives may need a steadier breeze, more open space or a setup check. Bring it down and inspect the line attachment and sail before trying again.
To land, slowly reel in the line while keeping an eye on the kite and anyone nearby. As it approaches the ground, guide it toward a clear patch rather than pulling it down over people. If the line snags, do not yank it or climb a tree or structure to retrieve the kite. Never approach a kite or line caught on electrical equipment; stay clear and contact the appropriate utility or local authority.
Make the next outing easier
After landing, wind the line neatly so it will not knot in your bag, and check the sail for dampness or grit before storing it. A small pouch for the reel, rods and instructions helps keep everything together. For your next flight, remember what the wind felt like, how much room you had and whether the kite flew steadily. Those simple observations are more useful to a beginner than trying to fly higher each time. A comfortable space and a controlled launch are enough to make the outing worthwhile.