Choose a size and gather your materials
A hand-stitched notebook is a useful first paper project because it needs few supplies and leaves room for personal choices. You can make one for shopping lists, quick sketches, garden notes or ideas that arrive when you are away from your desk. The version here uses folded sheets nested inside a folded cover, held together by a single line of stitching along the spine.
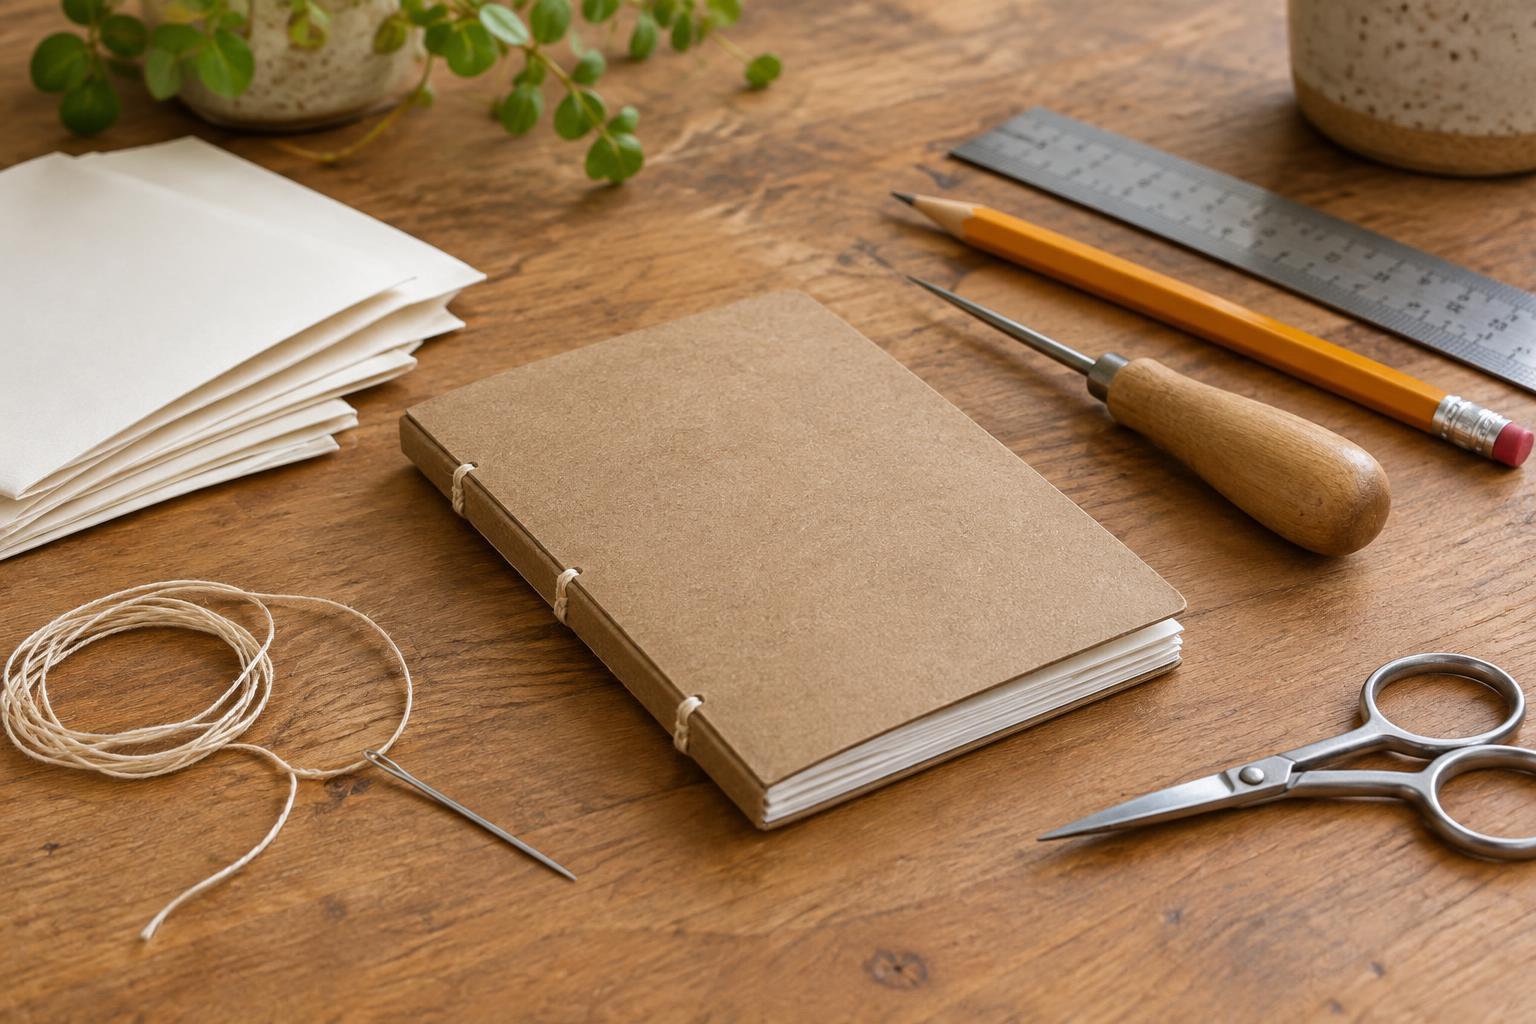
Gather six to ten sheets of ordinary writing or drawing paper, one slightly sturdier sheet for the cover, a ruler, pencil, scissors, thread, a needle and a few clips. A blunt-tipped needle can work if you prepare the holes with a pushpin or awl. You will also need a scrap of cardboard to protect the table while making holes. Choose paper you already enjoy writing on; very thick sheets can make a first notebook harder to fold and stitch.
Decide how large you want the finished book before cutting anything. Folding a sheet in half makes each page half as wide as the original sheet. For a pocket-size notebook, cut all your sheets to the same starting size, then test-fold one. If it feels too small to write in comfortably, adjust the size now. The cover should match the inner sheets when flat, though you can leave a small margin around its outside edges.
Fold the pages and mark three holes
Fold each inner sheet in half separately, lining up its corners before pressing the crease. A ruler or the back of a spoon can help sharpen a crease without buying a special tool. Fold the cover the same way. Nest the inner sheets inside one another, then place the stack inside the cover. This stack of folded sheets is the whole notebook, so keep it modest: too many sheets make the center pages stick out noticeably.
Hold the stack closed with clips near its top and bottom. Open it to the middle and lay it flat on the scrap cardboard. Along the inside fold, mark one hole near the center and two more at equal distances above and below it. Keep the outer holes comfortably away from the ends of the spine so the paper is less likely to tear. Check that your marks land on the fold, not beside it.
Pierce through the marks one at a time, keeping the pages nested and your fingers clear of the point. If the stack resists, make the holes in smaller groups, then reassemble the pages and check that all three sets line up. A clean, aligned hole is easier to sew than a large or ragged one. Put the sharp tool away before you begin stitching.
Stitch the spine
Cut a length of thread several times the height of the notebook. Thread the needle, but do not knot the thread yet. Starting from the inside center, pass the needle through the middle hole to the outside, leaving a short tail inside. From the outside, go in through the top hole. Carry the needle down the inside of the fold and pass it out through the bottom hole.
To finish the route, bring the needle back in through the center hole. You should now have both thread ends on the inside, with a long stitch running between the outer holes. Make sure the two loose ends sit on opposite sides of that long stitch. Pull them gently until the thread lies snug against the paper, then tie a firm double knot over the long stitch. Trim the ends, leaving short tails so the knot is less likely to come undone.
The thread should hold the pages together without cutting into them. If the spine puckers, ease the knot slightly or restitch with less tension. If the pages shift, check whether the holes were aligned before tightening further. Close the notebook and press it under a few books for a while if you want a flatter finish.
Finish it and make the next one your own
Nested pages may extend a little beyond the cover at the open edge. You can leave that soft, stepped edge as part of the handmade look. For a straighter edge, lightly mark a trim line with a ruler and cut a few pages at a time with scissors; do not force a thick stack through one cut. If your cover corners bend in a bag, round them slightly with scissors so they are less likely to catch.
Give the notebook a purpose before decorating it. A label on the cover might say “walk ideas,” “recipes to try” or “tiny sketches.” Keeping the design simple makes it easier to use rather than save for a special occasion. For your next notebook, try a different cover paper, fewer pages or a wider format. Once the three-hole stitch feels familiar, you can make a small set for different activities using materials already in your paper drawer.